Memcached step-by-step instruction
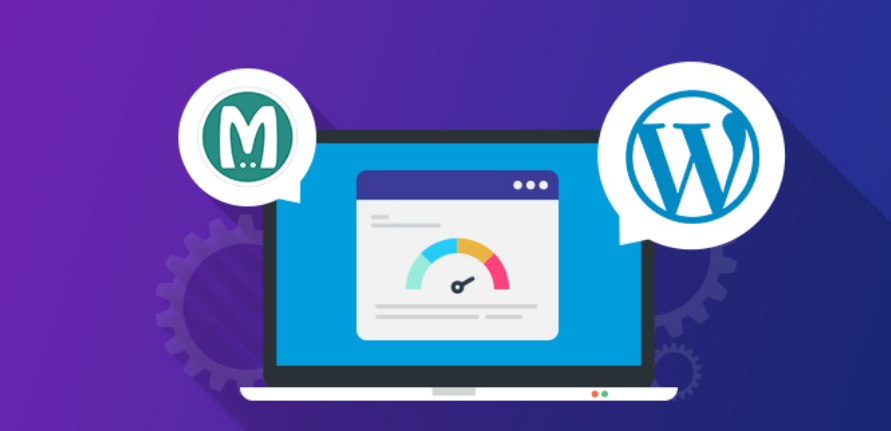
Memcached’s distributed memory caching system
caches data and objects directly into RAM memory and reduces the time it takes to access an external resource (for example, database calls or API calls). This especially helps dynamic systems like WordPress or Joomla !, significantly speeding up the request processing time.
Important: before starting, we want to note that Memcached does not have built-in security measures for working on shared hosting! This instruction is only suitable for a dedicated server (VPS).
Installing Memcached
Our server uses Plesk with CentOS 7.x. However, this guide is applicable to other systems as well, however, when performing the following operations, you must use the system-specific utilities (for example, apt-get instead of yum). To install Memcached, first of all, connect to the server via SSH and use the command line:
# yum install memcached
After the installation is complete, enter the following command:
# service memcached start
Next, install the PECL version of Memcached for the required PHP version. WordPress is fully PHP 7 compatible, so let’s activate Memcached for the latest PHP version – 7.1. Let’s start by installing all the required packages to add them to our custom PHP mod in Plesk:
# yum install make plesk-php71-devel gcc glibc-devel libmemcached-devel zlib-devel
Build the module following these instructions. You do not have to manually specify the Memcached directory, just press Enter when prompted:
/opt/plesk/php/7.1/bin/pecl install memcached
The next step is to add a line to the appropriate config file to register the module in PHP. You can use the command line without opening the file itself in an editor:
# echo “extension = memcached.so”> /opt/plesk/php/7.1/etc/php.d/memcached.ini
Finally, re-read the PHP handlers so that the module appears in PHP information in Plesk graphical menu.
# plesk bin php_handler —reread
Checking whether memcached is running at the command line
# /opt/plesk/php/7.1/bin/php -i | grep “memcached support”
Protect and Control Your Memcached
Memcached uses port 12211 by default. For security reasons, you can forward this port to your local machine.
Add the following line to the end of the / etc / sysconfig / memcached file and restart the Memcached service:
OPTIONS = “- l 127.0.0.1”
Use the following commands to monitor and get statistics from Memcached:
echo “stats settings” | nc localhost 11211
/ usr / bin / memcached-tool localhost: 11211
Activate Memcached in WordPress
Once Memcached is installed on the server, it is available for activation in WordPress. First of all, you need to activate the Memcached backend with a special script that automatically determines whether to use Memcached as a caching mechanism.
Download the script from https://github.com/bonny/memcachy and transfer all files to the / wp-content / directory.
If you haven’t changed the default Memcached port (11211), you can use it directly. If you changed it, add the following code to the wp-config.php file located in the root directory of your WordPress installation:
$ memcached_servers = array (array (‘127.0.0.1’, 11211));
Now that the backend is activated, we will install a caching plugin to store and serve rendered pages through Memcached. Install the Batcache plugin (https://WordPress.org/plugins/batcache/) using the installation instructions:
- download and unzip the archive;
- upload the advancaed-cache.php file to the / wp-content / directory;
- open wp-config.php and add the following line:
define (‘WP_CACHE’, true);
Important: make sure Memcached is enabled correctly for the selected PHP version, otherwise adding this line will cause an error!
- upload batcache.php to / wp-content / plugins directory.
That’s all! Now you can open advanced-cache.php and adjust the settings to your liking. The batcache.php file is a small plugin that regenerates the cache on articles and pages. Don’t forget to activate the plugin in the backend on the plugin page!
Check if Memcached is working properly in WordPress
Now let’s make sure that everything was done as needed by SEO company. The easiest way to confirm that the generated page is being cached is to add an extra header field to the response.
To do this, you need to modify the advanced-cache.php file. Open it and find the line
var $ headers = array ();
Replace it with:
var $ headers = array (‘memcached’ => ‘activated’);
Open the developer tools in your browser (F12 for Chrome), select the Network tab and reload the page several times to make sure the page is loaded from the cache and check the response headers. If you see the Memcached field, you’re good at it!
Memcached – checking response headers
Please note that if you are logged in (logged in) to the admin panel of a WordPress site, caching will not be enabled and the system will always serve the uncoached version of the page. How can I check the functionality of the cache in this case? Log out or open a new browser tab in Incognito mode and use the browser developer tools.
Instead of examining the headers, you can check the source code of the loaded page. The following lines indicate that the page was loaded from the cache:
Let’s run a stress test with Blitz.io
We can perform load testing using a stress test that simulates many concurrent visits to a resource over time. If your server is not protected from increased load, it will start responding slower until it can handle more requests. If Memcached is enabled, the server will last longer and will not generate errors.
Let’s run some load and performance tests using the Blitz.io service.
Note that this stress test uses a small server with one CPU and 500MB of memory.
Result WITHOUT using Memcached:
The result is the same as the Varnish stress test. As you can see, we had to terminate the stress test, as the server was unable to process requests faster than 5 seconds with 50 concurrent connected users. After just 15 seconds, the server completely stopped responding.
Thus, Memcached is a great idea for those looking for more load resilience. Using this system, you can even protect your site from small attacks. To protect the server from a true DDoS (Distributed Denial of Service) attack, use the Cloudflare service, Curator, or similar filtering systems.
Conclusion: WordPress works fine with Memcached
Memcached can dramatically improve the performance of your WordPress site and reduce the CPU load of your server. It’s easy to install and works out of the box.