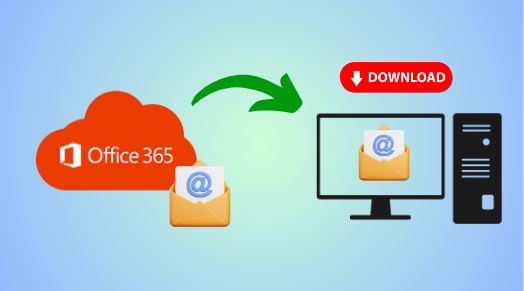
On June 28, 2011, when Microsoft launched a suite of productivity tools i.e. Office 365, no one knew that it would become an important part of our lives. Plus, this is a cloud-based service and keeps all of the data on the server. So because of that, cyber attackers can hack our data, or chances of data loss.
If you facing the same, then don’t worry here we are going to discuss how to save Office 365 email to desktop. In this, you explore both manual and automated solutions to bypass the issue easily. But, do you know the advantages behind the same?
Benefits of Backup the Office 365 Emails
Users are wondering why we need to back up our Microsoft 365 data. Just go through the below points which outline the same:
- Ensures protection against accidental deletion or corruption events.
- Meets regulatory standards (GDPR, HIPAA, SOX) for data retention.
- Guards against ransomware, and cyberattacks, and ensures email data integrity.
- Facilitates retention for legal or business compliance needs.
- Enables easy data restoration, minimizing downtime and productivity loss.
- Simplifies hassle-free migration, preserving email data integrity during transitions.
Is There Any Manual Solution to Save Office 365 Email to Desktop?
With the help of MS Outlook, one can easily download the files into PST format in the context of how to save Microsoft 365 emails. Curious to know how let’s understand. Remember, before starting with the task, verify whether your Outlook is configured with your Office 365 or not. If your answer is negative then follow these steps first:
- Download and Run the Outlook.
- Open the program, navigate to the File option>Add account.
- Next, provide the credentials( email, and password) of Office 365.
That’s it, your Office 365 is configured with Outlook. Next, we will learn how to save Microsoft 365 emails:
- Run the Outlook program and go to File > Open & Export > Import/Export.
- Within the Import/Export option > Export to a file>Outlook data file (.pst).
- Choose the emails that you want to save from the mailbox > click Next.
- Next, browse the destination location to store the data as you desire.
- Lastly, hit the Finish button to save Office 365 email to desktop.
Keep in mind: Doing things like setting up an account or moving data around in the app can be tedious and time-consuming, especially with the large volume of information. It’s not easy, and if something goes wrong, naive users won’t know how to fix it—they’ll need someone who knows about Outlook clearly to help them out.
How to Save Microsoft 365 Emails? – Via the Easiest & Quickest Solution
To avoid lengthy & time-consuming manual methods, it is suggested to opt for SysTools
Office 365 Backup Tool. So if you are wondering why this tool? The answer is this simplifies email backup by allowing users to store Office 365 emails on their computers.
Moreover, it exports emails to PST format for Outlook, offers date filtering options, and enables simultaneous backup of multiple accounts. With this, you one can make the process hassle-free and ensure the convenient preservation of important emails. To access this solution you just have to download this for free, and then follow the steps which are shown below.
Instructions to Save Office 365 Email to Desktop Simultaneously
- Open the Solution, and select source ( Office 365) and destination ( Outlook) platforms.
- Under the workload window, select the date filter (Optional) option for selective data backup.
- Next, in the source destination window, enter the required credentials.
- Choose the destination locations to save data within the PC.
- Select the mapping option i.e. Fetch Users, Import Users, Download Template, and validate.
- Lastly, hit on the backup option.
Bring it All Together
Above we discuss the two ways to save Office 365 email to desktop, one is manual, and the other one is automated. Still, after reading the entire article we conclude that the traditional method is not up to the mark due to its lengthy steps. So, to consider the mentioned smart solution is a wise choice.
