You can gradually improve your wireless network by using Wavlink’s dual-band wireless range extender.Because of its small and handy size, it is simple to install. Its clean design also helps it to blend in with your existing home or office decor.
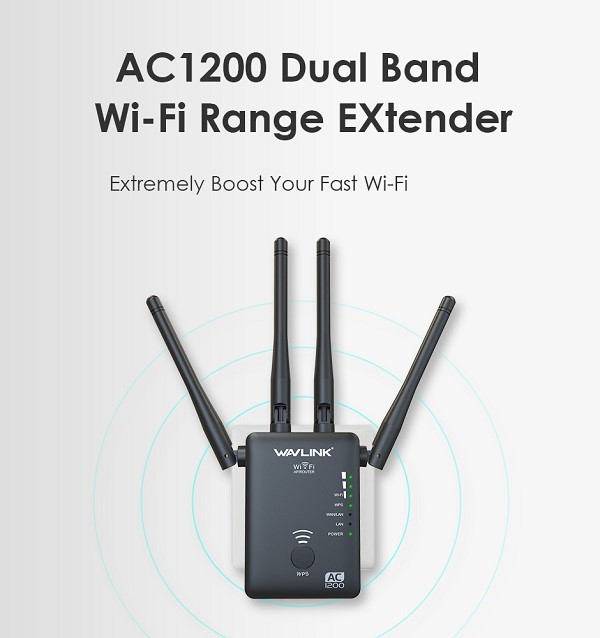
With the Wavlink AC1200 Setup, you can easily extend the range of your existing wireless network from anywhere. Four innovative omnidirectional antennas are arranged to increase the performance and dependability of your existing network.
Because of the high-performance antennae, you can connect all of your devices from any room in your house. Furthermore, this addon wirelessly connects to your wifi. As a result, it immediately identifies and boosts your router’s signals.
Wavlink AC1200 Extender Setup:
This extender’s installation procedure is rather straightforward, with over three different options. As a result, let’s have a look at the Wavlink ac1200 with AP configuration. Here are theStep-by-step instructions for setting up your computer.
- Plug in the power adapter to a nearby power source.
- Examine all wires for proper insulation.
- Check for a steady blue light to ensure the extension is turned on.
- Your extender should now be linked to your router.
- To do so, press the WPS button on your router and the WPS button on your extender at the same time.
- If you do not connect the devices within two minutes, they will not connect.
- Check that the signal LED has returned to solid blue.
- Which means that both devices have been successfully connected.
- You can now move on to the next phase in your Wavlink ac1200 configuration.
- Once located, the extender will boost the network.Furthermore, the SSID and password will be the same for both the extended and conventional networks.
- As a result, all you need to do now is join using your existing password and you’re good to go.
Wavlink AC1200 Firmware update:
Firmware updates your device to address faults, add new features, and improve the overall user experience. Please seek our assistance with device updates and security; a mistake upgrade may damage your device and void the product warranty.
- On the Wavlink website, you may get the most recent firmware file.
- The firmware can be extracted from the downloaded file.
- Log in to wifi.wavlink.com or 192.168.10.1, then select “Setup” and “Upgrade” from the drop-down menu.
- To find the firmware file, go to Browse/Choose File.
- Wait for the firmware upgrade to finish before clicking Apply.
Wavlink AC1200 WI-FI Extender Configuration
Steps for troubleshooting:
- By default, certain IP 192.168.10.1 gateways disable the usage of the WPS button. If you can’t connect using the WPS button, you can go to your extender’s setup management website and configure it from there.
- Make certain that the location you choose for your extender is close to your wireless router. Otherwise, the performance of your enhanced network will be noticeably different. Keep it at least a meter away from your router.
- Make certain that your extension is situated far away from any electronic interfering equipment. Bluetooth devices, such as baby monitors, microwave ovens, and cordless phones, should be avoided.
What exactly is https://ap.setup?
Ap.setup is an offline web URL that can be used to connect the wireless range extender. To install a WIFI repeater or extender via a web-based setup, go to https://ap.setup and connect the extender to the main modem or router.
So, let’s go over how to get to the Ap extender setup page:
- Turn on the wireless repeater and select the repeater mode.
- Use a laptop or tablet when the power light is on.
- Navigate to the Wi-Fi settings option and connect to the EXT network.
- After connecting, launch any web browser, such as Mozilla Firefox, Google Chrome, or Microsoft Edge.
- In the address box, type https://ap.setup.
- You’re taken to the new extension setup screen.
- You now understand what an AP setup web URL is and why it is utilized, thanks to the instructions provided above.
How can you reset the Wavlink AC1200 Dual-band WIFI extender?
- To reset the Wavlink AC1200, first connect it to a power source.
- After you’ve activated the extender’s power led light.
- See if you can find a paper clip or a toothpick.
- Then, before releasing the pinhole, press and hold the reset button for 10-15 seconds.
- The light on the power led turns amber, and you must now wait for the light on the power led to turn solid green.
- You have now successfully reset the extension to factory default settings.
- To reinstall the WIFI extender, go through the Wavlink AC1200 setup process.
If you have any further questions, please do not hesitate to contact our specialists.