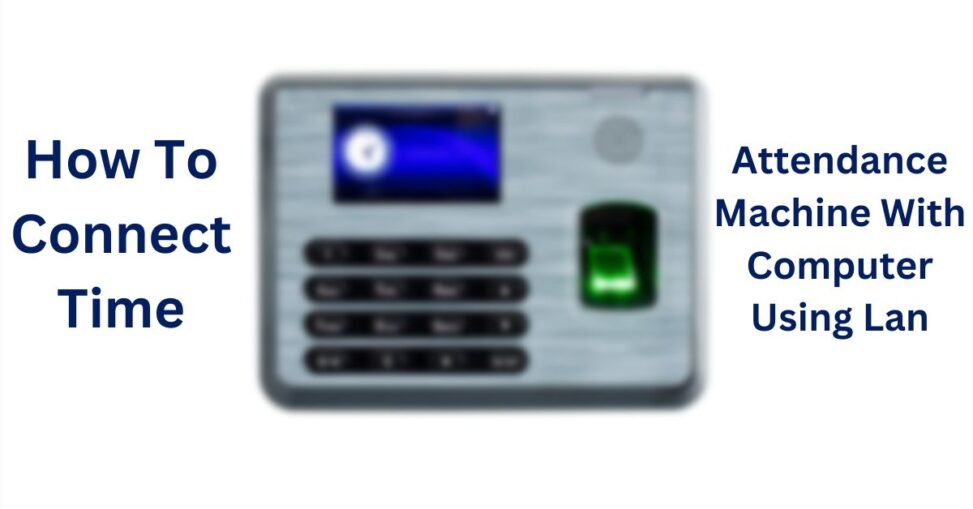
Time attendance machines are a great way to accurately track the hours worked by your employees. This can help you ensure compliance with labor laws and also give you a better understanding of how your team is performing. Connecting your time attendance machine with a computer can allow you to view and manage employee hours more easily. In this guide, we will discuss how to connect a time attendance machine with a computer using LAN (Local Area Network). We will cover the necessary hardware, software, and configuration steps needed to achieve a successful connection.
What type of hardware is needed to connect a time attendance machine to a computer using LAN?
If you’re looking to connect a time attendance machine to a computer using a local area network (LAN), it’s important to understand the hardware requirements for the connection. This article will provide a step-by-step explanation of the hardware components needed and provide a real-life example to illustrate the process. Step 1: Ethernet Cable The most basic hardware requirement for connecting a time attendance machine to a computer is an Ethernet cable. This cable will carry the data from the machine to the computer over the local area network. The cable should be long enough to reach from the machine to the computer, and should be compatible with both devices. Step 2: Network Switch A network switch is another important hardware component for connecting a time attendance machine to a computer. This device is what allows the two devices to communicate with one another over a LAN. When selecting a network switch, make sure to choose one that is compatible with both the machine and the computer. Step 3: Router A router is necessary for connecting a time attendance machine to a computer over a LAN. Routers are what enable the machine and the computer to communicate with each other. When selecting a router, make sure to choose one that is compatible with both the machine and the computer. Real-Life Example For example, if you’re connecting a time attendance machine to a computer in an office, you’ll need an Ethernet cable, a network switch, and a router. The Ethernet cable should be long enough to reach from the time attendance machine to the computer. The network switch should be compatible with both the machine and the computer. Finally, the router should be compatible with both the machine and the computer. After all of the hardware components have been connected, the time attendance machine should be able to communicate with the computer over the local area network. In conclusion, understanding the hardware requirements for connecting a time attendance machine to a computer over a LAN is essential. An Ethernet cable, a network switch, and a router are all necessary components for establishing the connection. With the right hardware components in place, the time attendance machine should be able to communicate with the computer over the local area network.
How To Connect Zkteco K40 With Computer Using Lan?
Firstly, you need to make sure that you can ping your Zkteco K40. Open the software and choose “Add a new device”. Then, you will be asked to choose your device type from the device category. After that, set the punch type and provide the IP address along with the Port number. Next to that, you need to clear the device log and use your User ID. Later on, save those settings, and your device will be connected.
If don’t know ZKteco K40 Price in Bangladesh, let me inform you that it’s pretty reasonable. It’s capable of handling 3 thousand users.
What type of software is required to establish the connection between the time attendance machine and the computer?
Establishing a connection between a time attendance machine and a computer is essential for businesses that need to track employee hours and attendance. In this blog post, we will discuss the type of software required to connect a time attendance machine to a computer, and provide a real-life example of how this can be done. Step 1: Choose your software. The first step is to determine which type of software is best suited for your time attendance machine. Different machines may have different software requirements, so it’s important to consult the manufacturer’s instructions to determine the right software. Additionally, you may want to research software that is compatible with both your time attendance machine and the operating system of your computer. Step 2: Install the software. After you have chosen the appropriate software, you can install it on your computer. This can be done either manually by following the instructions provided by the manufacturer, or by downloading the software from the official website. Step 3: Connect the time attendance machine to the computer. Once the software is installed, you will need to connect the time attendance machine to the computer. This can usually be done with a USB cable. Once the connection is established, the software should recognize the time attendance machine and the two will be able to communicate with each other. Step 4: Set up the software. After the connection is established, you will need to set up the software to ensure that the time attendance machine and computer are able to communicate properly. This may involve entering certain settings into the software, such as time zones, employee information, and more. Real-Life Example: A small business is looking for a way to track employee attendance and hours worked. They decide to purchase a time attendance machine and connect it to their computer. The time attendance machine they choose is compatible with a specific type of software. The business downloads the software from the manufacturer’s website and installs it on their computer. They then connect the time attendance machine to the computer using a USB cable. Finally, they configure the software to ensure that the time attendance machine and the computer can properly communicate. The business is now able to track employee attendance and hours worked, without having to manually enter the data into the computer. By following these steps, businesses can easily connect a time attendance machine to a computer in order to track employee attendance and hours worked. While the specific software requirements may vary depending on the type of time attendance machine being used, the steps outlined above should provide a general guide on how to establish the connection.
What are the steps needed to configure the LAN settings on the time attendance machine?
Network connectivity is essential to the performance and security of a time attendance machine. A LAN (Local Area Network) is a type of network that connects computers and other devices within a single location. In order to properly configure the LAN settings on a time attendance machine, several steps must be taken. Step 1: Establish IP Address The first step is to establish the IP address of the time attendance machine. This is the unique identifier assigned to the device that will be used on the network. This can be done using a DHCP server, which assigns IP addresses automatically, or by manually entering the IP address. Step 2: Configure Subnet Mask The subnet mask tells the time attendance machine which part of the IP address is the network address and which part is the host address. This needs to be configured so that the device can communicate with the other devices on the network. Step 3: Configure Default Gateway The default gateway is the address of the router that will be used to connect the time attendance machine to the rest of the network. This needs to be configured correctly to ensure that the device can communicate with the other devices on the network. Step 4: Configure DNS Servers DNS (Domain Name System) servers are used to resolve domain names to IP addresses. This needs to be configured so that the time attendance machine can access the internet. Step 5: Enable DHCP If the time attendance machine is connected to a DHCP server, then the DHCP settings need to be enabled in order to receive an IP address automatically. Step 6: Save Settings Once all of the settings have been configured, they need to be saved in order for the changes to take effect. Real-Life Example: For example, a company has recently purchased a time attendance machine to track employee time and attendance. In order to use the machine, the LAN settings must be configured. The IT admin will first establish the IP address of the machine, then configure the subnet mask, default gateway, and DNS servers. The DHCP settings will then be enabled, and finally the settings will be saved. Once this is done, the time attendance machine will be properly configured and ready to use.
Conclusion
In conclusion, connecting a time attendance machine to a computer using LAN is a relatively straightforward process. With the right hardware and software, you should be able to connect the two devices and transfer data between them. It is important to ensure that the time attendance machine is compatible with the computer and that the LAN connection is secure. Following the steps outlined in this article should help you accomplish this task.
Read More: Develop A Multi-Service App like Gojek in the USA