If you ever go around asking people of their favourite flooring style would be, chances are high that they’ll say herringbone flooring. Ever since the herringbone pattern was introduced in the 17the century France, its popularity has increased over the years. In fact, we can also conclude that herringbone design is the world’s favourite choice. Inspired by the herring fish’s bone structure, this design and style was named as herringbone. The ability of herringbone flooring to survive the test of time tells us that this is a timeless and classic beauty which can completely transform the look of your house.
Choosing the flooring wood
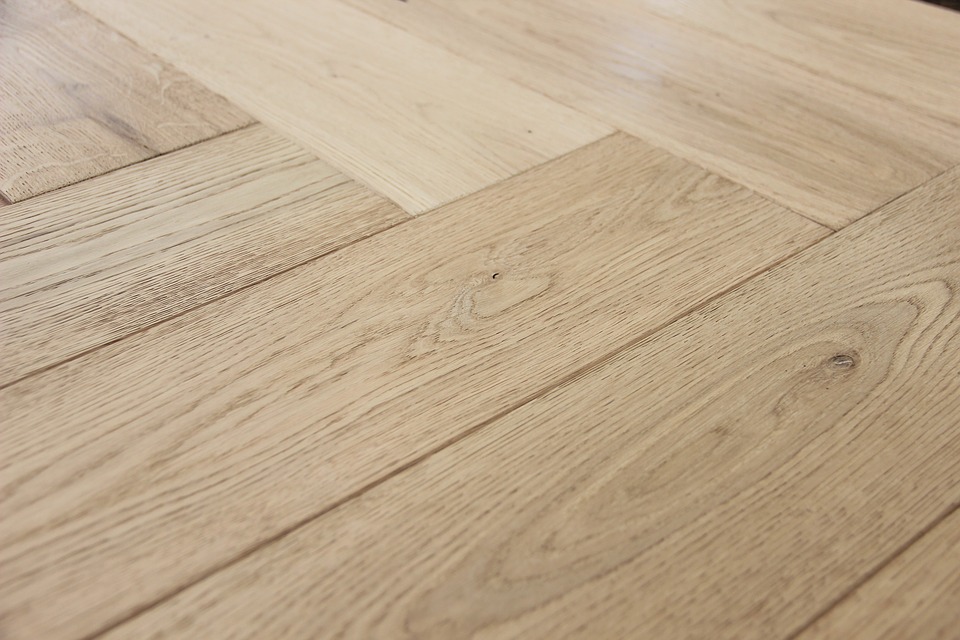
Herringbone style can be easily found in both types of flooring wood – solid hardwood and engineered wood. As you have the flexibility to choose the type of wood you want to use, bespoke herringbone flooring options are readily available. Prefinished engineered wood is considered to be the best choice as it is easy to install and needs no further finishes. But you can opt for traditional hardwood flooring as well.
Tools and Equipment
It is very important to gather all your tools and equipment needed for the installation of the flooring. Some of the important tools needed are: Border Flooring Strip, Chalk Line Tool, Apron Flooring Strips, Router, Rubber Mallet, Circular Saw, Rafter Squares, Measuring Tape, Spare Piece 3/4th inch Plywood, Flooring Nailer, Screws, Flooring Nails, and others.
Double Check the Subfloor
Before you start laying out or installing the herringbone engineered wood flooring, make sure to double check the surface area of the subfloor. This is to ensure that the subfloor is in a good condition and also that it is completely level and uniform. If in case you miss out on this crucial check, you might realize that the surface is not even and might have to start all over again.
Mark the Center and Field
After you have done your initial checks of tools and condition of the subfloor, use the measuring tape to determine the center of the space. Then, using the chalk draw a line which runs through the center, from one wall to the other. This is done because herringbone pattern cannot cover every single inch of the floor, you’ll have to create a rectangular field for the herringbone flooring to be installed.
Customize the Flooring Slats
In order to find out the appropriate slat length for the design, first lay out a part and then apply rafter squares to keep the slats angle at exactly 90 degrees. Once this is done, you will see that the slats news to be cut and trimmed a little bit, depending on their width size. Do not forget to trim the tongue of every single slat.
Create a Nailing Blank
A nailing blank acts as a template for you when you start installing the flooring. Just use the 3/4th-inch piece of plywood and convert it into a triangle. Remember that the two sides should correspond to the length of the flooring slats. Next, draw a centerline through the middle of the nailing blank and then place it on the centerline we created on the floor initially. Make sure that the long side runs along the border, else you would have to redo all over again. Finally screw the blank into the subfloor and use the router to create grooves along the two sides.
Laying Out the Floor
Place the first slat so that it aligns perfectly with the nailing blank. Put the second one in such a way that it overlaps the end of the first one and make sure that the tongues face outward. Use the flooring nailer and arrange the nails every few inches along the initial slat. Using a mallet, drive the nails in securely and repeat this process for the second slat as well. In the same manner, add the remaining flooring slats to create the beautiful and everlasting herringbone pattern.
Fill in the Gaps & Trim the extra wood
No matter how precisely you do, the nailing blank will leave some minute triangle shaped areas empty. Just use the wood glue to fill in the gaps and spots along each groove leading to the tongue. Then nail some extra slats, following the herringbone design till you fill the gaps. At times, some extra wood material might overlap the borders and you should trim that out. Using the painter’s tape mark the cut and use the circular saw for a neat and clean finish.
Finishing the Borders
This is the last and final step of installation – adding and finishing the borders. Using the router make grooves on all four sides and apply wood glue to lay the flooring splines inside every single groove. The flooring nailer will help you place the decorative strip around the beautiful herringbone design. Use the nailer to position the apron strips all along the border and once you have filled in all the space up until the wall. Voila! Your flooring is complete.