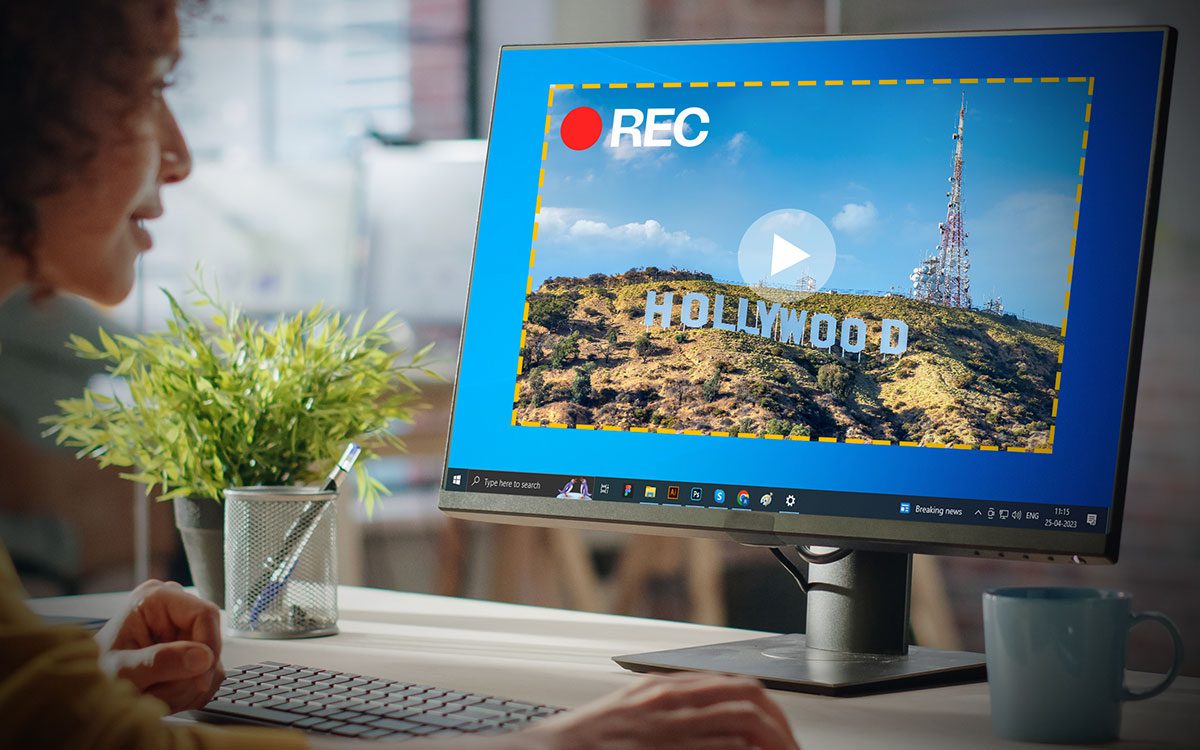
Recording video in Windows 10 has become easier than ever with the built-in recording features that come with the operating system. Whether you’re creating content for social media or recording a tutorial for work or school, Windows 10 has several ways to record desktop screens. In this article, we’ll explore three of the best methods for recording video in Windows 10, including the steps for each method. Also, we have briefed you about the best Windows screen recorder software to enjoy seamless recording options.
Using Xbox Game Bar
Windows 10 has a built-in Game Bar feature that allows you to capture video on your screen. This feature is useful for recording games but can also be used for recording other types of video content.
Step 1: Open the Game Bar. If it doesn’t come up, enable the Game Bar in the Settings window.
To open the Game Bar, press the Windows key + G on your keyboard. This will bring up the Game Bar overlay.
Step 2: Start Recording from the Capture section on the top left.
Click on the Start Recording button to start recording. Alternatively, you can press the Windows key + Alt + R to start and stop recording.
Step 3: Stop Recording from the progress bar.
To stop recording, either click on the stop button on the progress bar overlay or press the Windows key + Alt + R again.
Step 4: Find the Recorded Video.
The recorded video will be saved to your default Videos folder, which you can access by opening File Explorer (Win + E) and navigating to This PC > Videos. If the library is enabled, the recorded video can also be found in the list of recorded videos on the Game Bar.
Using the Camera App
Windows 10 comes with a built-in Camera app that allows you to record desktop screens using your computer’s webcam. This method is ideal for recording videos for video calls, vlogs, or other types of content that require a webcam.
Step 1: Open the Camera App.
To open the Camera app, search for “Camera” in the Start menu and click on the app.
Step 2: Choose Video Mode from the left panel.
Click on the video camera icon in the top left corner of the Camera app to switch to video mode.
Step 3: Start Recording.
Click on the Take Video button to start recording.
Step 4: Stop Recording.
To stop recording, click on the red stop button in the Camera app.
Step 5: Find the Recorded Video
The recorded video will be saved to the Camera Roll folder in the Pictures library.
Using Microsoft PowerPoint
The latest versions of Microsoft PowerPoint have come up with an advanced feature to insert recorded videos into the slides. You can capture a new video right from the PowerPoint app and add the recording to create intuitive presentations.
Step 1. Access MS PowerPoint from the Office app.
Step 2. Select a blank presentation to start with.
Step 3. Select the Screen Recording option from the Media section in the Insert menu.
Step 4. Drag to select the area that needs to be recorded.
Step 5. Click on the Record button to initiate recording. Once done, click on the stop button to finish recording. You can enable mouse clicks or a microphone to record your voice.
Step 6. The recorded video will be added to the slide. Right-click on the added video and click on the ‘Save Media As’ option. The recorded video will be saved in the videos library.
Advanced Screen Recorder
Advanced Screen Recorder is a powerful and easy-to-use tool for recording videos on your Windows 10 computer. With its wide range of features and customizable settings, it can help you create high-quality video content for your projects or presentations. Advanced Screen Recorder is software that allows you to record videos without a watermark. You can add a watermark to personalize your videos. Here are the steps to use Advanced Screen Recorder to record video.
Step 1: Download and install Advanced Screen Recorder on your Windows 10 computer.
Step 2: Launch Advanced Screen Recorder and click on the “Video Recorder” option.
Step 3: Select the area of your screen that you want to record. You can choose to record the full screen, a specific application window, or a custom region.
Step 4: Choose the audio input source for your recording. You can select your computer’s microphone, system sound, or both.
Step 5: Click on the ‘Settings’ icon to configure the recording settings. Here, you can choose the video format, frame rate, and video quality.
Step 7: Click on the ‘Record’ button to start recording your video.
Step 8: Once you’ve finished recording, click on the ‘Stop’ button to stop the recording.
Your recorded video will be saved to your computer’s hard drive. You can find it in the default location or choose a custom save location.
Wrapping Up
Windows 10 offers several methods for recording video, including the Game Bar, Camera app, and many more. These methods can aid you in capturing your screen videos with ease. However, if you want some extended editing and publishing features, you can try using the best screen recorder for windows 10 PC like Advanced Screen Recorder.
