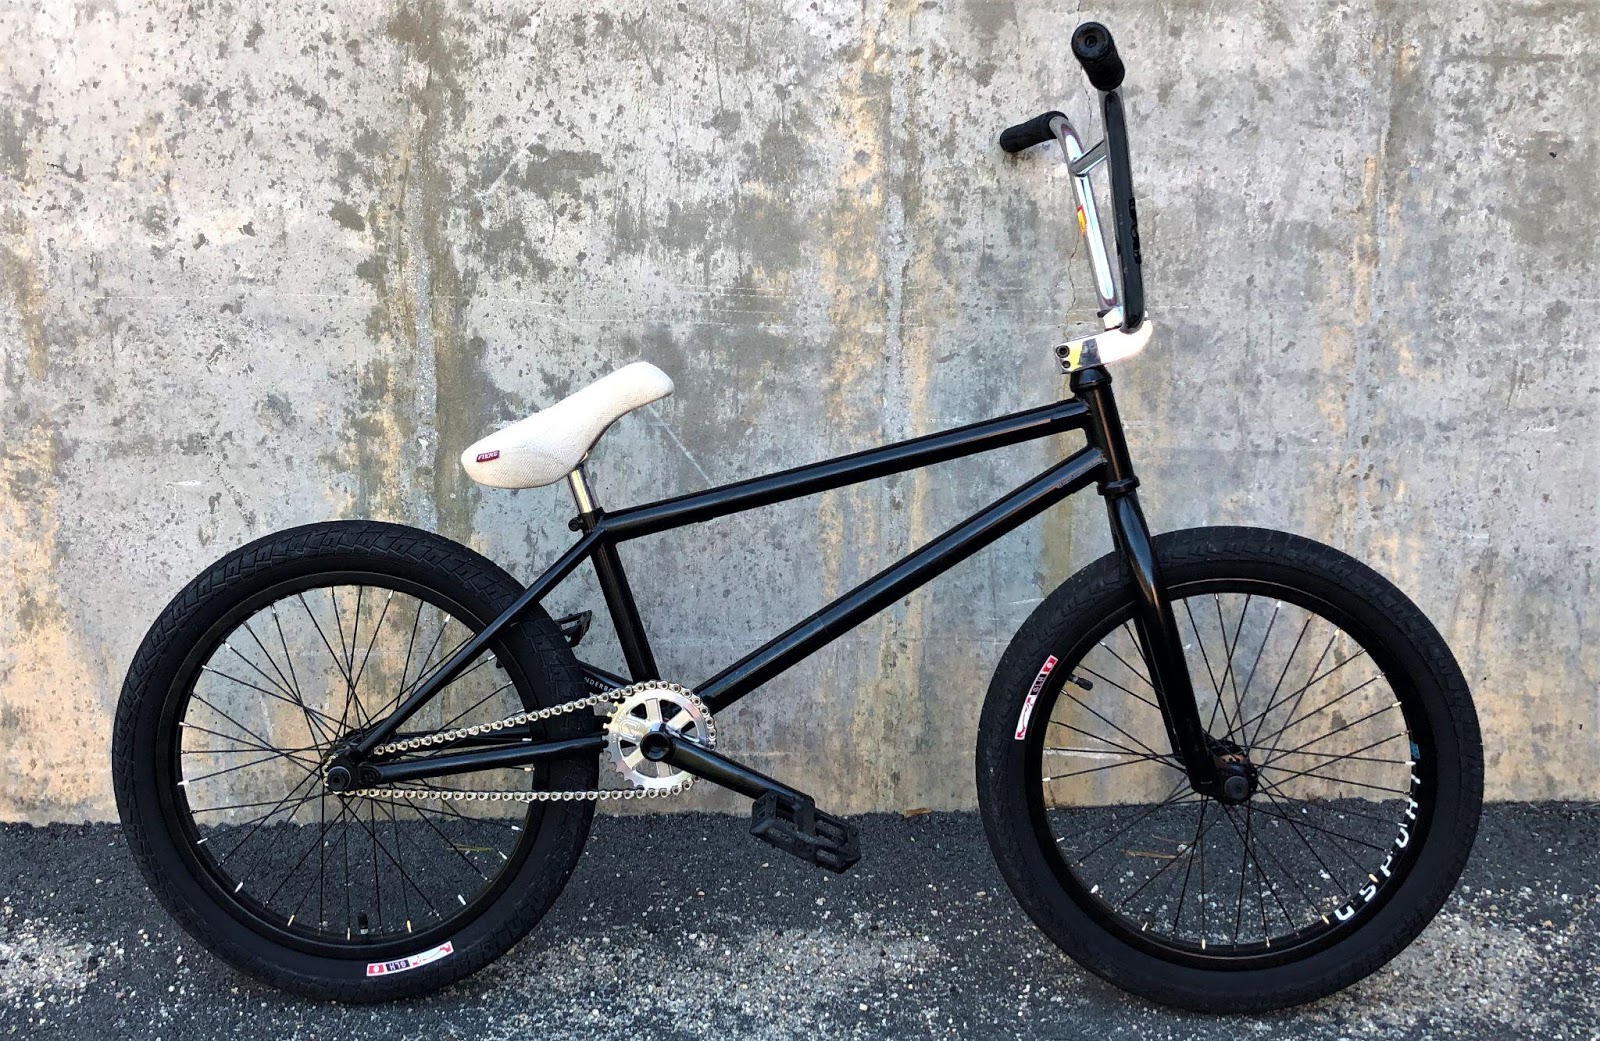
Maintaining your best BMX bike is the key to making sure your bike is in good condition and efficient. Read the different service areas to complete your trip.
Clean
The accumulation of dust and mud can be very damaging to your bike. Regular cleaning helps prevent corrosion and excessive wear. While the easiest way to clean a bike is to use a pressure washer, this method is quick but has serious damage. The high-pressure jet can penetrate bearings and dilute lubricants, accelerating corrosion and wear. Pressure washers can also lift paint and damage labels. The best way to wash your bike is to use low-pressure water from a garden hose (no shower nozzle) or a shovel and sponges. You will also notice a problem when you wash the bike by hand.
Dry it well after washing. This helps prevent hard water paint discoloration and corrosion. You can then protect the bike with a hard wax or silicone shower. The wax or silicone coating facilitates subsequent cleaning of the motorcycle.
WARNING: Do not wax your tires or silicone brakes. Check and lubricate the chain after cleaning.
Chain maintenance
Proper maintenance and lubrication of the wheel chain help prevent wear and corrosion. Remove dirt and oil from the chain with a cloth. Generally, it is not necessary to use degreasers or solvents.
After cleaning the chain, apply the grease by turning the crank. This helps distribute the lubricant evenly. The most important thing is that the lubricant is evenly distributed. You don’t need a lot of lubricants, just a flat layer. The silicone shower is good enough for chains because the silicone does not stick to the chain and therefore collects dust like other lubricants.
Then check the tension of the chain by folding it up and down. If the chain is too tight, it is very stressful and can break. If it is too loose, it could come off the sprockets. The chain must not move up and down more than 1 cm at the clearest point. Tension or loosen the chain by moving the rear wheel forward or backward (inward). Since the chains are not evenly long, tighten them properly.
Loosen the shaft nuts, pull the wheel back (or forward), then tighten the shaft nuts. Now slowly rotate the crankshaft while checking the chain tension in all directions. This is important because on most motorcycles you will find that the chain tension changes as you spin it around the front wheel. Note that some wheels have built-in chain stops on the rear axle, but the procedure is almost the same. Once the chain controls are installed, there is no need to pull the wheel manually, just use the settings of each extension to move the wheel forwards or backward. When adjusting the chain, also check the condition of the front wheel (converter) and rear sprocket (neutral) for worn or damaged teeth.
You need to make sure the bike works properly in the frame by turning and looking along the center of the rim and bottom tube. You can also check this by measuring the distance between the sidewall of the tire and the support tube and compare it with the measurement on the other side of the tire. Now check that the setting affects the brakes. Make sure the brake pads are in the correct direction with the rim brake surface and do not contaminate the tire. Severe brake distortion can occur when installing a new chain.
Maintenance of wheels, axles, and tires
Both tires should be checked regularly for twists or cracks. If you jump, a flat/bent tire can be catastrophic on landing. For your safety, flat tires should be replaced immediately. Deformed tires can be repaired and are best left to the professionals.
Surfaces should also be inspected regularly for damage or looseness. Improperly sharpened surfaces deform the edge. It is best if your bicycle repairman takes care of repairing or tightening the surface. To obtain loose surfaces, gently turn the wheel and allow a light metal object to touch each spool. The loose glaze produces a matte sound compared to a tight glaze.
There are several hubs/axles, but you can check each one;
– First, turn each wheel and make sure it rotates freely. If the charge makes friction or a frictional sound, it is likely to be dry or dry.
– Then try to move around from side to side and check the inclination of the bearings.
– Check the shaft nuts for tightness.
Regularly check the tires for cracks, fissures, and wear. Tire pressure is a personal choice, but most people start by inflating a tire to the maximum recommended working pressure (to minimize rolling resistance) and then back up if traction needs to be improved.
A damaged tire is easy to replace. After removing the wheel, open the valve to release any remaining air pressure. Drive the other edge of the tires off the rim using the lever of the non-metallic bicycle levers and then you can remove the tube. Turn the edge of the tires in the opposite direction to see the hole in the edge of the valve stem. Insert the valve stem of the new pipe into the hole and install the pipe inside the ring. You can now start unwinding the tire rim to the opposite edge of the valve, being careful not to pinch the inner tube between the tire rim and the rim. You can now reload the tire and make sure that the edges of the seats are correctly positioned around the edge. Finally, attach the wheel to the wheel.
Brakes
Check the brake system carefully. BMX rules require the brakes to work properly, and although you don’t have to use them often, safety depends on them.
First, make sure that the brake pads are in contact with the rim, especially if you have adjusted or replaced the chain.
Inspect the nipple at the end of the brake cable lever for wear and that the cable is securely attached to the brake lever. Also, ensure that no part of the wire at the end of the cable attached to the brake caliper dangerously collides. Lubricate the brake cable by spraying grease between the cable and its outer casing.
Make sure that the outer sheath of the brake cable is not kinked or cracked, as this could prevent the cable from moving inside the housing and prevent the cable from breaking. Check that the brake lever is securely attached to the handlebars. Most brake levers are adjustable, so make sure they are comfortable for you. The position of the brake lever on the handlebars should also be adjusted to make it easy to operate while standing on the bike. Now check and adjust the brakes so that they work properly and comfortably.
Pedals and cranks
Make sure that the pedals are tight on the handles and that there is no excessive play. Check that the foot frames or bolt pins are tight. Make sure that the sides are firmly attached to the shaft and that there is not too much play in the lower bracket. The bicycle service technician prefers to tighten the crank chambers. When inspecting the hip arm, also check the crown of the chains and the tension of the bolts that secure the chain to the cradle.
Guide helmet
Check that there is not too much play in the bearings. Turn the handlebars side by side and listen to the sound of grinding from the bearings, especially the lower bearing, which collects a lot of dust and sand from the front wheel. When twisting the bars, you will encounter rigidity or bonds. New helmet bearings are very economical, so replace them if they show signs of wear.
Handstick
Inspect the cross member for cracks and tighten the bolts securing the handlebar head to the arm. The tension of the bolts on all bolts is also critical, as uneven tension of the bolts can contribute to stress cracking, especially in the shoulder portions of the aluminum housing.
Handles
Make sure they are firmly on the handlebars. A good tip of hairspray on the front handle