From deciding on critical drone parts to installing drone components with digital camera systems to configuring drone remote control protective equipment in the drone case, each step plays an important role in enhancing a safe high-performance aircraft construction and operation.
Building a drone from scratch can be an exciting and rewarding pleasure whether you are a hobbyist, professional aerial photographer or someone interested in gaining knowledge about drone manufacturing, information is a way of assembling the right components is essential. With the developing availability of drone parts in India, enthusiasts now find it less complicated to access first-class components for custom drone companies This booklet walks you through the assembly process step-by-step.
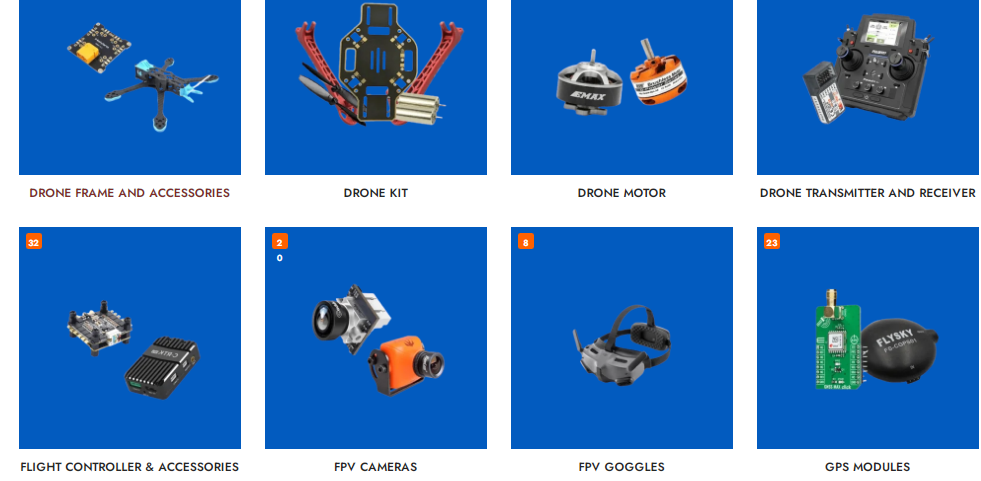
Step 1: Gather all the necessary components
Make sure you have all the necessary drone parts before you start. A popular drone build is usually the following:
- Pilot
- Frame
- Driving
- Electronic Speed Controls (ESC)
- Screw
- Batteries
- GPS module (optional)
- Camera Machine
- Receiver and transmitter
- Wiring and Connectors
If you plan to shoot aerial footage, keep in mind that great drone parts with camera systems that offer strong and clean imagery.
Step 2: Assemble the drone frame
The body serves as the inspiration for your drone. Start by following the manufacturer’s instructions for storing the frame pieces. Tighten all screws securely but refrain from over-tightening, which can damage the fabric.
Make sure your body is balanced and strong as it supports all the different parts as you fly.
Step 3: Install the motors
Attach the vehicles to the wide bases of the body. Make sure each motor is hooked up in the best role and orientation. Use the included screws and verify that the motors are securely installed.
Proper engine position is important because even moderate misalignment can affect flight balance and control.
Step 4: Install the Electronic Speed Controls (ESC).
ESCs change the distribution of energy from the battery to the car. Connect each ESC to its corresponding motor and attach it to the body using zip ties or mounting straps.
Keep wiring neat and ready to avoid problems with moving fixtures and simplify future maintenance.
Step 5: Install the Flight Controller
The pilot therefore operates the mind of the drone. Place in the middle of the body Use vibrating massage pads if possible.
Connect the ESC signal wires, power distribution cables, GPS module, and receiver in accordance with the wiring diagram on the controller. Check all connections before proceeding.
Step 6: Connect the receiver and drone remote
Install the receiver and hook your drone remote to the transmitter. This step provides communication between the pilot and the aircraft.
Verify that every single channel handles feedback efficiently after binding. Check throttle, pitch, roll and gift intake to ensure proper operation.
Step 7: Set Up Camera System
For aerial photography or video, mount the digital camera securely on your body or gimbal. Many developers opt for advanced drone parts with camera answers that include image stabilization for smoother images.
Carefully route the digicam cables to avoid interference with the screw or various interchangeable parts.
Step 8: Attach the battery and power system
Install the battery using mounting straps or mounting brackets. Make sure the battery is mounted so that the drone’s center of gravity holds.
Check the voltage before connecting the power distribution devices and powering the drone. The proper placement of the batteries greatly affects the efficiency and robustness of the aircraft.
Step 9: Install Software Settings
Download the ideal flight manipulation software and install it in your drone computer. Install:
- Flight modes
- GPS settings
- Fail-safe option
- Highways
- Sensor measurement
Take the time to calibrate the accelerometer, compass, and radio control to achieve accurate flight behavior.
Step 10: Install the screws and perform a safety check
Tighten the screw in accordance with specific engine guidelines. Verify that the screws are effectively mounted clockwise and counter clock wise.
Always remove the screw at some stage of installation and testing to protect against accidental damage.
Step11: Eleven Store and Transfer Securely
Together, protect the drone with a durable drone case. High-quality case protects tactile electronics, cameras, batteries, and accessories during delivery.
Higher garages also offer the convenience of extending the life of additives through protection from dirt, moisture, and physical damage.
Step 12: Run the test flight
Choose an open space that is free from boundaries and people. Implement a low-altitude pavilion test to assess stability and control feedback.
Monitor engine performance, GPS accuracy and battery usage. Make small adjustments as desired before trying better tricks or expert tasks.