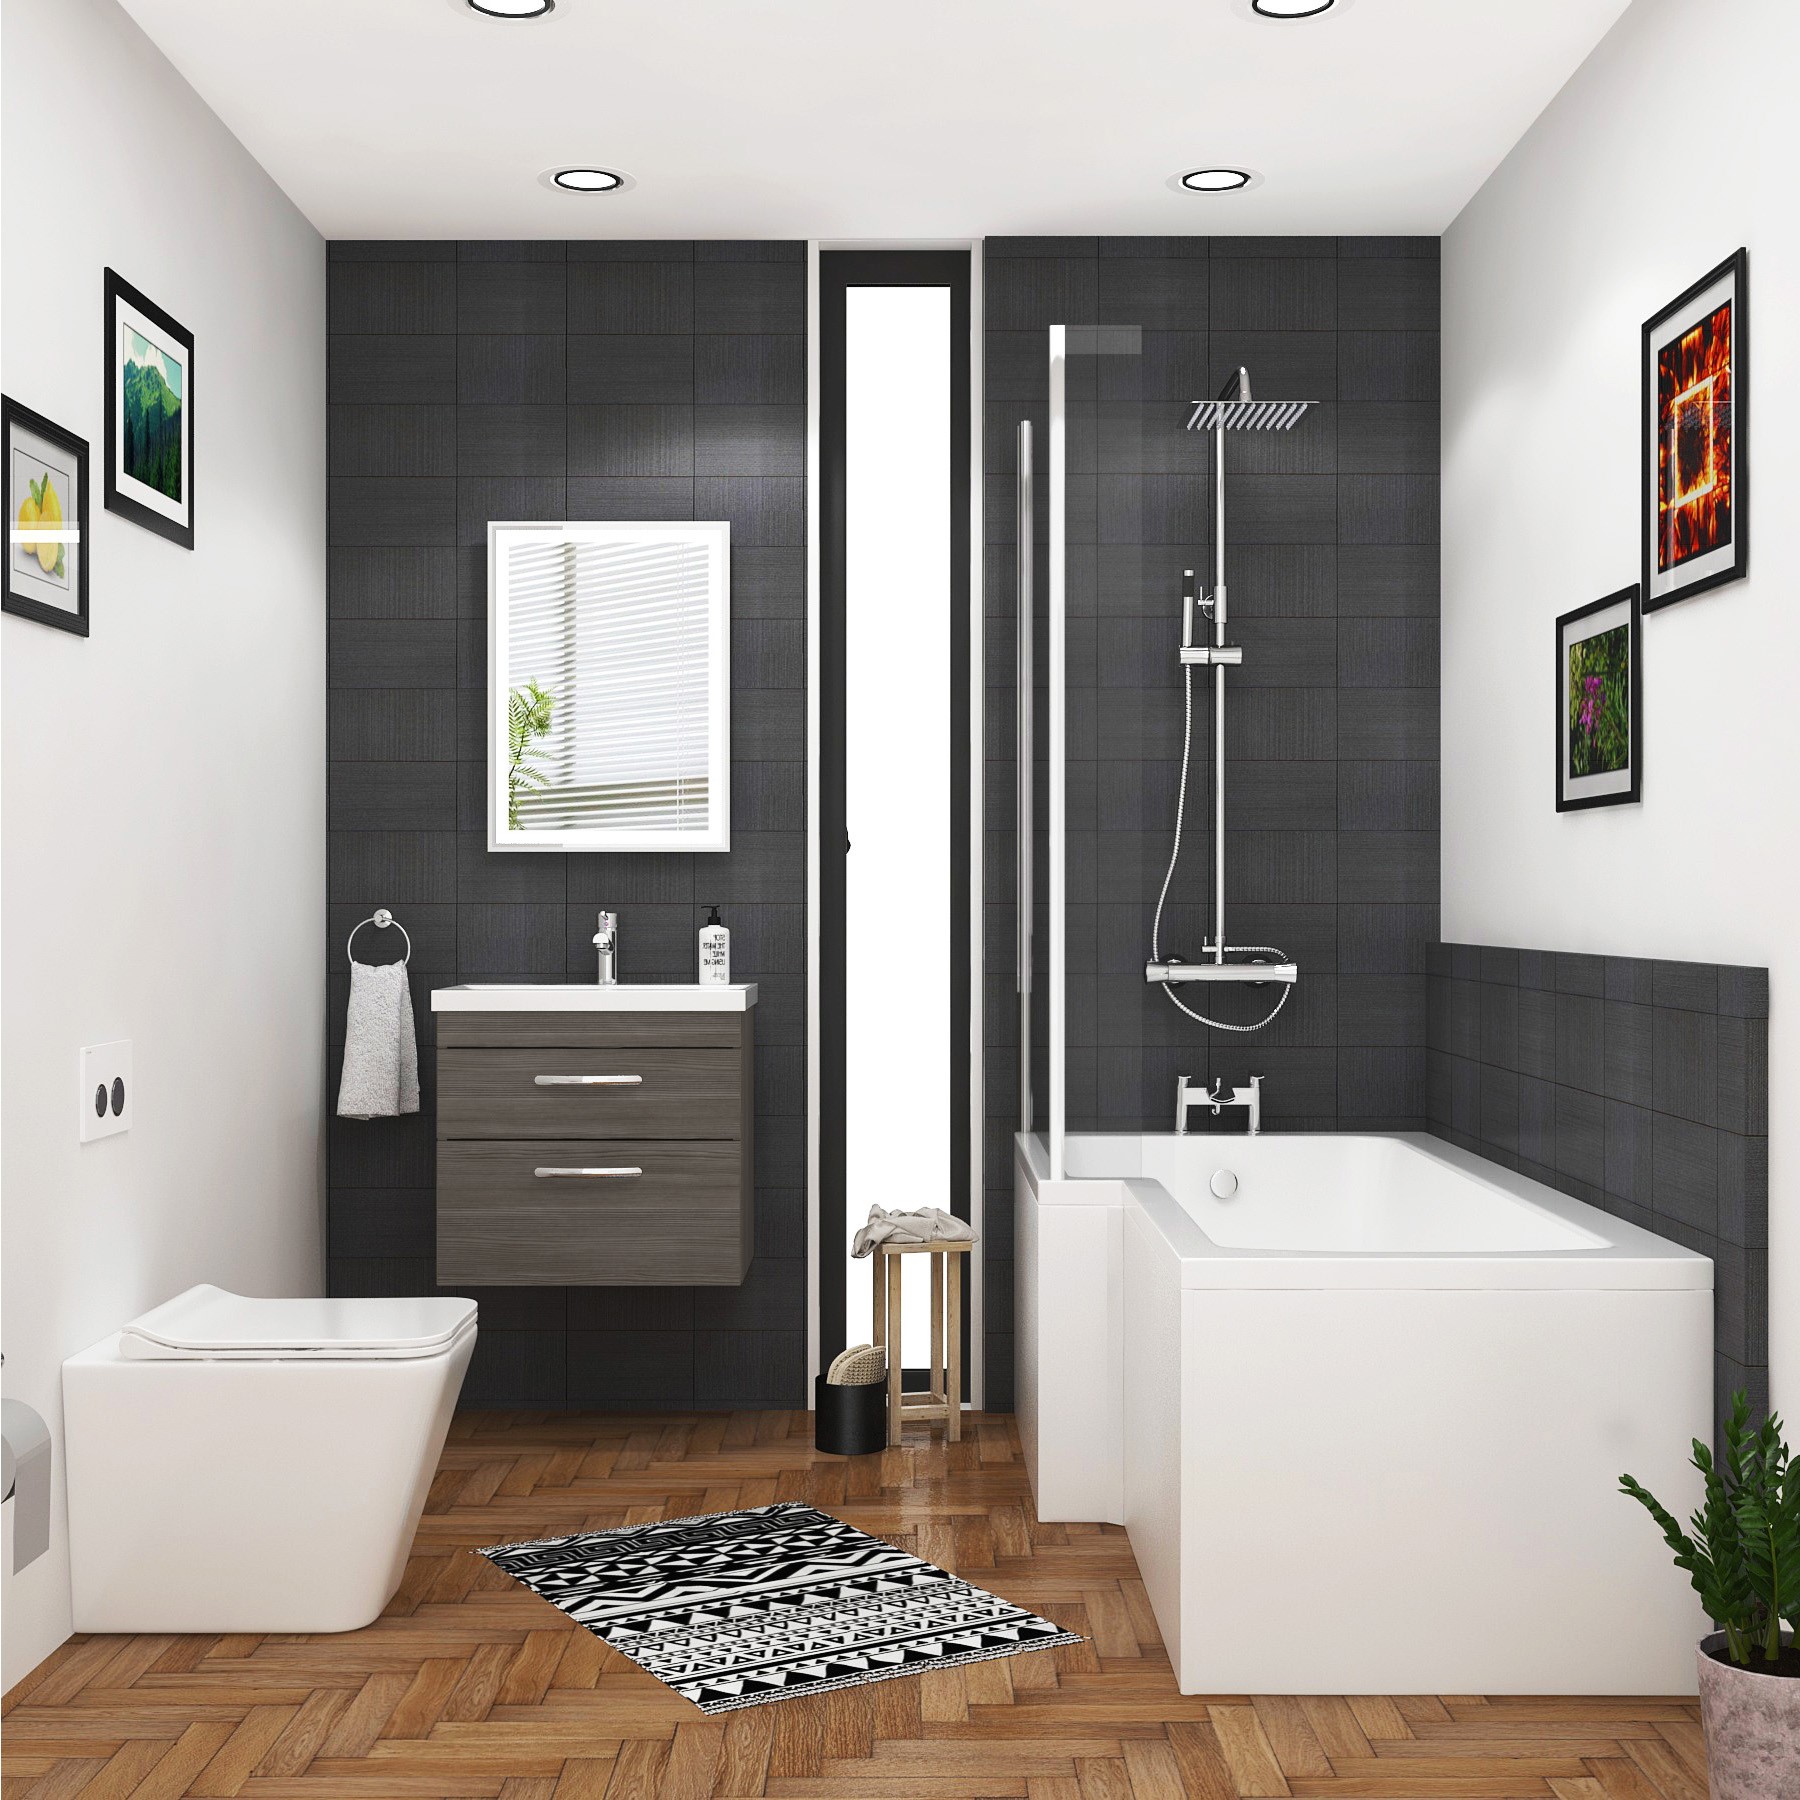
The wall hung basin is a practical choice for small bathrooms. It frees up floor space while taking up less visual space. Most homeowner’s struggles with managing the bathroom space while renovating their home. It is challenging to find fixtures that can fit in a small space. Here comes an idea of wall-hung fitting, which saves not only considerable space in the bathroom but also looks great.
Why a Wall Hung Basin?
It is like a smaller refrigerator and stove in a small kitchen, and it is just more practical in a small bathroom. A vanity mounted on the wall gives the impression of extra space, which is crucial in a tiny bathroom that may easily appear cluttered. These are unique and offer a sleek “floating” appearance that complements any bathroom, particularly a modern one.
DIY Installation for Wall Hung Basin?
The installation of a wall hung basin, or any other similar unit is not easy as a pedestal basin. It is complicated and requires a lot of efforts. Breaking your walls and adjusting the water supply and drainage can be difficult for anyone doing it for the first time. Therefore, we recommend you take the help of a professional. Doing it yourself may put you in trouble. This guide is meant to provide you with a general idea and should not be used to carry out a complete installation. You should only use it if you think it is easier to understand and conduct installation for you.
Tools Required to Fit Wall Hung Basin
It is important that you have few tools in hand before starting your work on fitting a wall hung basin. You may even need them to remove the old washbasin.
- Measuring Tape
- Lead Pencil or Marker
- Drilling Machine
- Bubble Level
- Wall Plugs
- Silicone and Silicone Guns
- A Sheet for Covering the Floor
Step 1: Determine the Height
First and foremost, you must determine the height of your basin. The standard height of a bathroom sink is 800-850mm. You may, however, want to make some changes to this.
Top tip: Take into account your current water supply location and make sure the water waste and trap are at the proper height.
Step 2: Take Precise Measurements.
You will need at least two sizes. You will need to know where you want to fit the basin and get the exact size whether you have enough space available for it. Then measure the points according to the size. First from the height till the end and the second from right to left. You will need to create holes where the fixtures will fit. Before noting down your measurements, confirm that they are right by measuring to the centre of each fixing hole.
Step 3. Suspend Your Sink.
Make a pencil mark on the wall at the equal elevation of the basin, then lengthen the line out using a bubble level to ensure it is straight. To identify the basin’s centre, draw a line till the water connection.
Step 4. Drill the holes using a Drill machine
Before drilling the holes for each point, make sure you’re not drilling above or underneath any connections.
Step 5. Fix the Sink to its Position
You might need some assistance with the following step. To begin, put it in front and equal level to the holes, tighten up wall plugs using a blow. Allow sufficient part to show from the wall.
Final Steps
Check for leaks after connecting your water supply. Allow silicone sealant to set before sealing the back edge of your sink. You’ve now completed the installation of your own wall-mounted basin. Congratulations!
Are you Looking for Wall Hung Basin?
We have provided you with basic information about the wall hung basin installation. It is, however, a good idea to leave it on the professionals. Contrary to other types of basins, it is a bit of a complicated process to install the wall mount fixtures. In case you are looking for high-quality bathroom fixtures at budget prices, then you can visit the Royal Bathrooms website. Before thinking of renovating your home, make sure that you have vaccinated for COVID-19.
