Cuticles are a critical part of your nails that support this organ’s overall health and strength. It protects the nails from cracking and also prevents infections in these areas. If you wonder what they are, then know that cuticles are the thin layer of dead cells around your nail plate, creating a barrier between the live skin.
Cuticle removal is a standard process, especially before a manicure, to ensure the results last longer. While it seems like a reasonably easy job, it is prone to a lot of mistakes that could end up causing an infection. So, here we present to you four simple steps to use a cuticle remover safely and effectively.
Step 1 – Prepare Your Nails
Start by cleaning your nails with nail polish remover to eliminate the nail paint. Now it is time to identify your cuticle. Understanding the anatomy of your nail is crucial to avoid trimming healthy skin. It could expose the skin to infections, so you should be extra careful.
Step 2 – Apply The Cuticle Remover
It is time to apply cuticle remover on your nails. Cuticle removers contain high pH chemicals such as potassium hydroxide or sodium hydroxide. Although these chemicals are necessary to dissolve the cuticles to enable easy removal of this part of the nail, it is important to follow the instructions on the package. Leaving the product for too long on your skin can clip away the protective layer around the nail bed, causing damage to your skin. Further, even using your fingers to apply them on the nails will be a bad idea as it could damage the skin in this area.
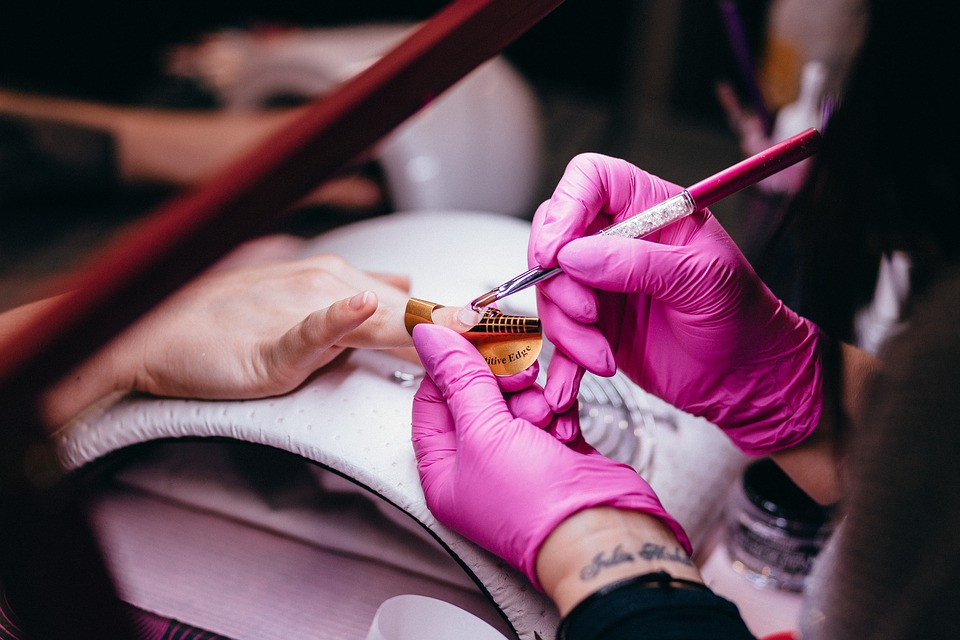
So, use a brush to apply the product over the cuticles gently. The amount of product you need will entirely depend on your cuticle thickness. So always start by applying a little, and you can use more if necessary. You can follow the instructions on the product to get the correct quantity. Now let the remover stay on the nail for a few minutes as instructed. It should typically range between a few seconds to about 4-5 minutes.
Step 3 – Cut The Cuticle
Wash your hands with soap and soft scrubbing motion to eliminate the traces of the product completely to avoid damage to the skin in this region. Now apply some lotion or cuticle oil and nicely massage it into the skin for a few minutes. Leave it one for a moment to let the area absorb the lotion and moisturize. Wait till the nail dries thoroughly.
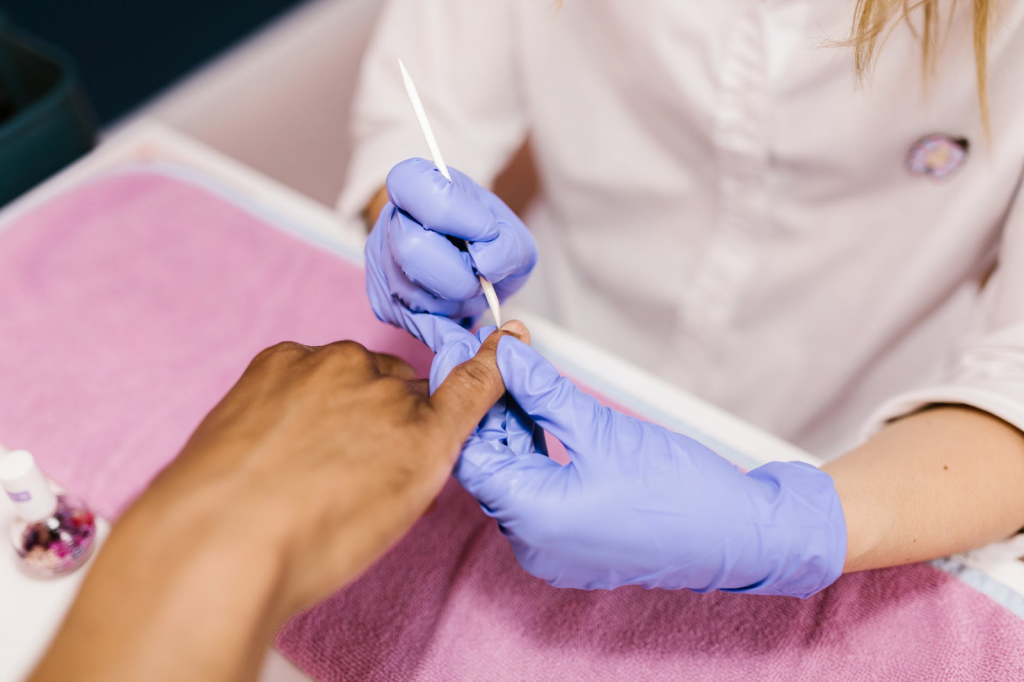
Take a look at the cuticle to check if it needs trimming. Most products will dissolve the cuticle well. If it only softened the cuticles, you have to use the right tools to push it back. With a fingernail scraper, orange stick, or cuticle pusher, slowly push the skin in this region. Start the process at the nail base and repeat the same at the sides. This way, you can be sure to target just the cuticles. Also, create a lift and push action and avoid dragging the tool along the nail to avoid damaging the nail bed.
Step 4 – Finish And Clean Up
Use the opposite end of the cuticle remover to eliminate the dirt and dust underneath the fingernails. It is typically not recommended to cut the cuticles, but if there is any excess skin in this region, you can use manicure scissors to clean up the area.
The final step is buffing your nails using a nail buffer. Remover removes excess natural oils on the nails that tend to remove nail polish faster. So, this could be good for your manicure. Make sure to do the buffing carefully without chipping the nails. Wash your hands thoroughly and dry. Apply cuticle oil again and massage gently to prepare your nails for your nail art.
Things To Remember
Cuticle removal is a fairly simple process to perform at home. You can look for the best kits or products for this process to ensure the best results. Here are a few things you should keep in mind while performing the removal for a safe and effective process.

1. Understand your nails well. Even professionals with experience find it challenging to identify the cuticle properly. It causes them to apply products on living skin in the region that could cause damage. Make sure to identify the cuticle and apply the cream only on this surface.
2. Be careful about how frequently you remove or push cuticles. If you are doing this too often, you might be risking accidentally hurting yourself or damaging the nail and skin. It is especially a problem for those with smooth skin as the thin tissues could get damaged quite easily, but the cuticle also needs trimming more frequently. People with thick or hard skin seldom see the cuticle visible on the surface and would therefore not require many treatments.
3. Removing your cuticles will not cause the nail to grow faster. This is a myth, and in fact, many say that the process could have the opposite effect causing the nail to become fragile too quickly, thus prone to breakage.
Conclusion
Cuticle removal is an essential step in caring for your nails. Proper trimming and hydration can ensure your nail looks healthy and nourished. Use these four simple steps to safely and adequately remove cuticles at home before a manicure for the best results.