Installing acrylic splashbacks in your kitchen is a cool way to update your cooking area without the hassle and cost of more traditional tile backs. Giving your kitchen a more contemporary feel, splashbacks are easy to clean, and with a little preparation, a DIY project can easily become a splashback that can transform your kitchen. Once they are fully installed, a DIY splashback is a seamless, functional, and design-enhancing solution to any cooking area.
The following guide is to help you achieve the most professional-looking, long-lasting kitchen splashback for yourself, so that you can avoid costly mistakes.
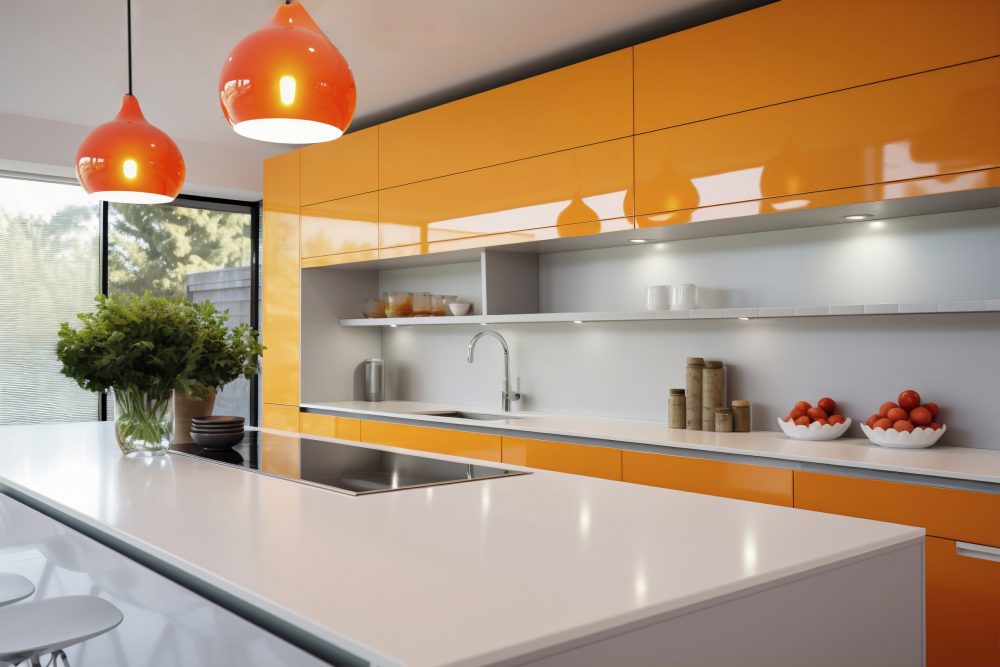
Why Acrylic Splashbacks in Kitchens?
Opting for acrylic in a cooking area is becoming more and more common acrylic in cooking area is becoming more and more common. They are a more modern and unique option than tile backs. They help achieve the contemporary look you’re going for while are more motivating to keep clean than traditional tile backs with their groves that can trap dirt and promote germs. They can also be stocked in a huge range of designs. For installers and homeowners alike, they are a clean, cost effective option in a more traditional wall covering.
The Acrylic Splashback Materials: What You Need to Know Before Installation
Proper preparation includes knowing the materials you’ll be using. Acrylic splashbacks consist of sheets of high-quality acrylic. These have excellent clarity, color, and durability.
Splashbacks are designed to be installed behind sinks, worktops, and cooktops; however, direct-heat sources are an exception. Splashback acrylics are to be absent from gas hobs, and protected from direct interactions by heat shields.
Understanding the materials and their limitations goes hand-in-hand with ensuring reliable, long-term installations.
Tools and Materials Preparation
Acrylic splashback for Kitchen installations are geared towards DIY-ers, however, the prep work must be done with extra care. Since acrylic Splashbacks are DIY friendly, you need to make sure to work on them with precision.
You will need a measuring tool to get the correct dimensions. You will also need a spirit level to check alignment and cutting tools if the splashback is not pre-cut. You’ll also need acrylic wall adhesive, wall-and-paint compatible adhesive, and edge sealant for the acrylic, edge sealant for the acrylic.
It is recommended to wear protective gloves and goggles, especially while cutting or drilling acrylic sheets.
Taking Measurements and Planning Your Kitchen Splashback
The most important step when measuring for a kitchen acrylic splashback is obtaining accurate measurements. Start with measuring the width and the height of the space where the splashback is to be installed. Measure several times to ensure that the walls are not uneven since that is a common occurrence when it comes to kitchens.
Make accurate markings if your splashback requires cutouts for sockets, switches, or any other fixture. Before ordering any panels that will require cutting, or making any cuts of your own, make sure to double check your measurements. Once installed, acrylic splashbacks are not easily changed.
Planning your layout beforehand will help to ensure a professional finish with minimal waste.
Wall Surface Preparation
Prior to the installation of the acrylic splashbacks, the wall surface should be clean, dry, and smooth. Grease, dust and loose specks of paint will disrupt the bonding of the acrylic and could make installation a lot more difficult.
Remove any previously installed tiles and fix any repairs that are needed on the wall.( any cracks or areas of the wall that are uneven). Walls that are painted should be sanded a bit to help the adhesive bond more easily. If the wall is very uneven, consider using a suitable backing board to create a more even surface.
Making sure the wall is prepared correctly will help to make sure that the splashback is adequately stuck on to the wall, and will not create any future issues like lifting or gaps that could occur if the wall is not prepped correctly.
Acrylic Splashback Cutting Safety and Precision
If your acrylic splashback is not pre-cut, careful cutting is required. Acrylic can be cut using fine-tooth saws or specialized cutting tools designed for plastics, up to and including circular saws.
To avoid cracking, always support the sheet fully during cutting. Steady, slow cuts should be taken. After cutting, edges can be smoothed using fine-grit sandpaper.
For precise fitting around fixtures, edges and dimensions must be cut accurately.
Final Installation Dry-Fit
Before fitting and gluing the splashback acrylic, dry-fit the panels against the wall. This lets you check the alignment, cut-out confirmation, and whether the panel slips into the gap flush to the wall invisibly.
Ensure the splashback is straight with a spirit level. Adjustments can be made at this stage, as after the glue is set, changes cannot be made.
Before glue is set, dry-fitting can help avoid errors, and ultimately assist in all future major alterations.
Correct Application and use of Adhesive
The right type of adhesive needs to be used for the correct installation. For strong support, the adhesive should be applied in vertical line sections or bead type spills to the rear of the acrylic splashbacks.
When applying adhesive, be careful to keep it away from the edges to avoid seepage or marks on the edges when the panel is pressed against the wall. Follow the manufacturer’s guidelines on the spacer and the cure time.
When done correctly, the adhesive application achieves a great finish and a strong bond.
Installing the Acrylic Splashback.
After applying the adhesive, position the acrylic splashback on the wall. Firmly and evenly press it in, removing air pockets.
Check the alignment using a spirit leve,. Adjust in needed immediately. If needed, use temporary supports or spacers to hold the splashback in place while the adhesive cures.
Don’t use the kitchen or apply any sealant until the adhesive is fully set.
Sealing edges and joints for a finished look.
Once the adhesive has set, apply sealant to the edges and joints of the splashback. This keeps moisture from getting behind the panel and enhances the appearance.
Sealing is especially important around the worktops and sinks because it can get wet. A smooth and even bead of sealant makes the installation look neat and it prolongs the life of the installation.
Mistakes to Avoid When Installing Acrylic Splashbacks
The splashbacks can be installed themselves, however be sure to avoid common mistakes like taking poor measurements, using the wrong adhesive, or installing the panels too close to the heat. Failing to prepare the wall, or dry-fit wall can also leave you with mistakes that could be costly in the long run.
These are the long term fixes that will make the project a breeze.
How to Maintain Acrylic Kitchen Splashbacks
Kitchens get messy, so having a splashback that is made from acrylic can be a worry free experience. In order to maintain the acrylic splashback, be sure to rinse it with plain water regularly to get the buildup that can form from sticky substances. If you are using a cleaning detergent, avoid the scouring pads so you don’t scratch the surface.
In order to get the most out of the splashback, make sure to give it some proper care.
Final Thoughts: Achieving a Professional Finish with Acrylic Splashbacks
Installing acrylic splashbacks, (while doing it yourself), can be a rewarding DIY project to revamp the entire kitchen. With some careful planning, outstanding measurements, and ensuring you are detail oriented, you will be able to avoid having to hire a professional, and do it all yourself.
When common mistakes are avoided, and proper installation steps are taken, acrylic splashbacks offer a long-lasting, easy to clean, and visually appealing option for modern kitchens. Sourcing materials from consistent, reliable suppliers provides long-term satisfaction for homeowners, contractors, and businesses. Contact Wholesale POS Ltd to learn more about buying high-quality acrylic splashbacks at competitive wholesale prices.