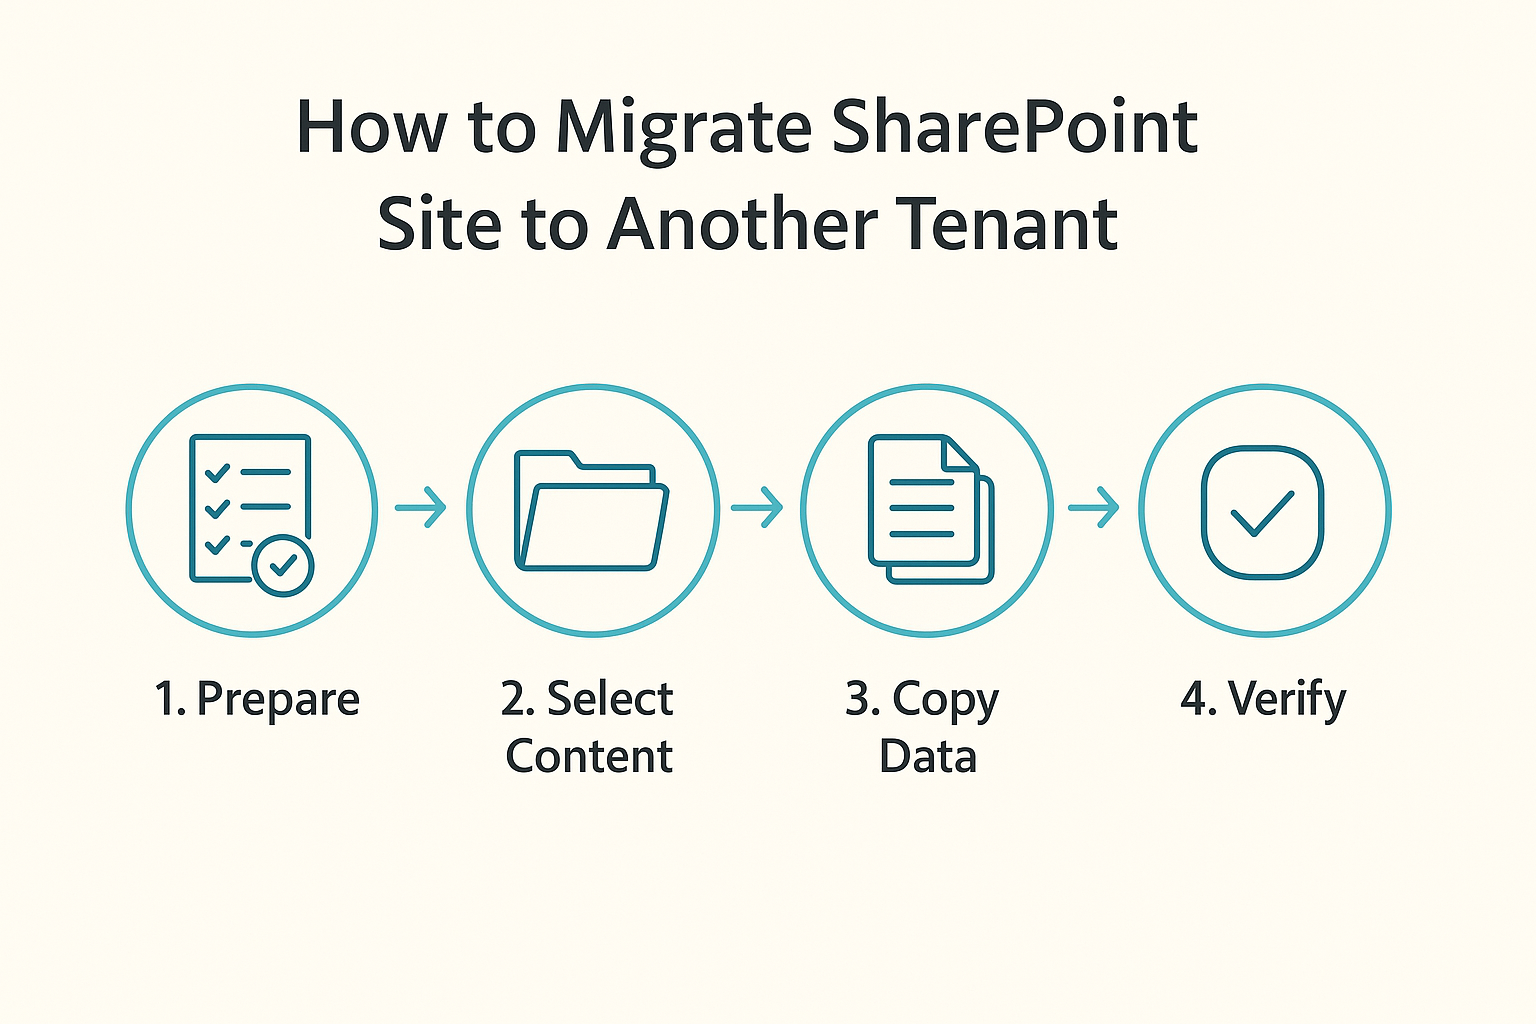
In this digital landscape, most of the businesses faced a common challenge is migrating SharePoint data to another account due to mergers, acquisitions, and rebrandings. To address this, many solutions are available online, including manual and automated. In this guide, we will explore all the practical methods to migrate SharePoint site to another tenant step-by-step. Let’s get started!
Why Move SharePoint Site to Another Tenant?
There are several reasons why transfer SharePoint Site to another tenant. Some of them are as follows:
- When a company goes under a merger, then they need to migrate its users’ data into a single database.
- Moving SharePoint data to another tenant serves as a replica or backup.
- Transferring irrelevant data to another location helps users maintain SharePoint effectively.
- When a company goes through a rebranding procedure, changing the name of the SharePoint domain is necessary, and migrating the data from the old domain to the new tenant becomes necessary.
Also read: How to Change SharePoint Site from Private to Public
How to Migrate SharePoint Site to Another Tenant?
There are multiple migration methods and tools available online, but among them, we described only the best ones in the following sections. So, go through them and proceed with your transition journey!
1. Download & Upload Method
In this, you just have to save data from the source tenant and upload that to the destination tenant. The steps are as follows:
- Go to the source SharePoint site in Tenant A.
- Open the document library you want to migrate.
- Use the “Download” button or select all items and download them as a ZIP file.
- In Tenant B, create a new SharePoint site (same structure, if needed).
- Navigate to the new site’s document library and upload the files.
2. Using OneDrive Sync Client
SharePoint stores data in OneDrive, so we can sync that data with another tenant by following these instructions:
- Sync the document library of the source SharePoint site with OneDrive.
- Copy the locally synced files to another folder synced with the destination tenant’s SharePoint site.
- Wait until the data is uploaded.
3. Save as Template + List/Library Migration
- On the source tenant, go to the list or library settings.
- Click Save list as template (with content).
- Download the .stp file from the Solutions Gallery.
- Now, on the destination tenant, upload the .stp file to the Solutions Gallery.
- Create a new list/library from this template.
4. Cutting-edge Solution
Above all, the solutions are manual, which come with several issues like time-consuming, error-prone, risk of data loss, and much more. To address this, we have to opt for a reliable automated solution like Best SharePoint Migration Tool Download.
This solution helps users migrate SharePoint site to another tenant in a few minutes, thanks to its bulk migration functionality. It comes with many features, including a date filter, delta migration, re-run migration, category-based filter, and much more. These advanced features make this tenant-to-tenant migration task a breeze.
The steps to move SharePoint data to another tenant are as follows:
Step 1: Run the specified solution on your system.
Step 2: In the Workload Selection screen, ensure the Sites checkbox is enabled.
Step 3: Apply a Date Filter based on your migration.
Step 4: Click the Start button to begin the migration process.
Bring it All Together!
Migrating a SharePoint site to another tenant is a daunting task. That’s why we created this guide to help users understand and proceed with the transition flawlessly. For the same, we provide all the manual and automated solutions to make the task hassle-free and quick.
