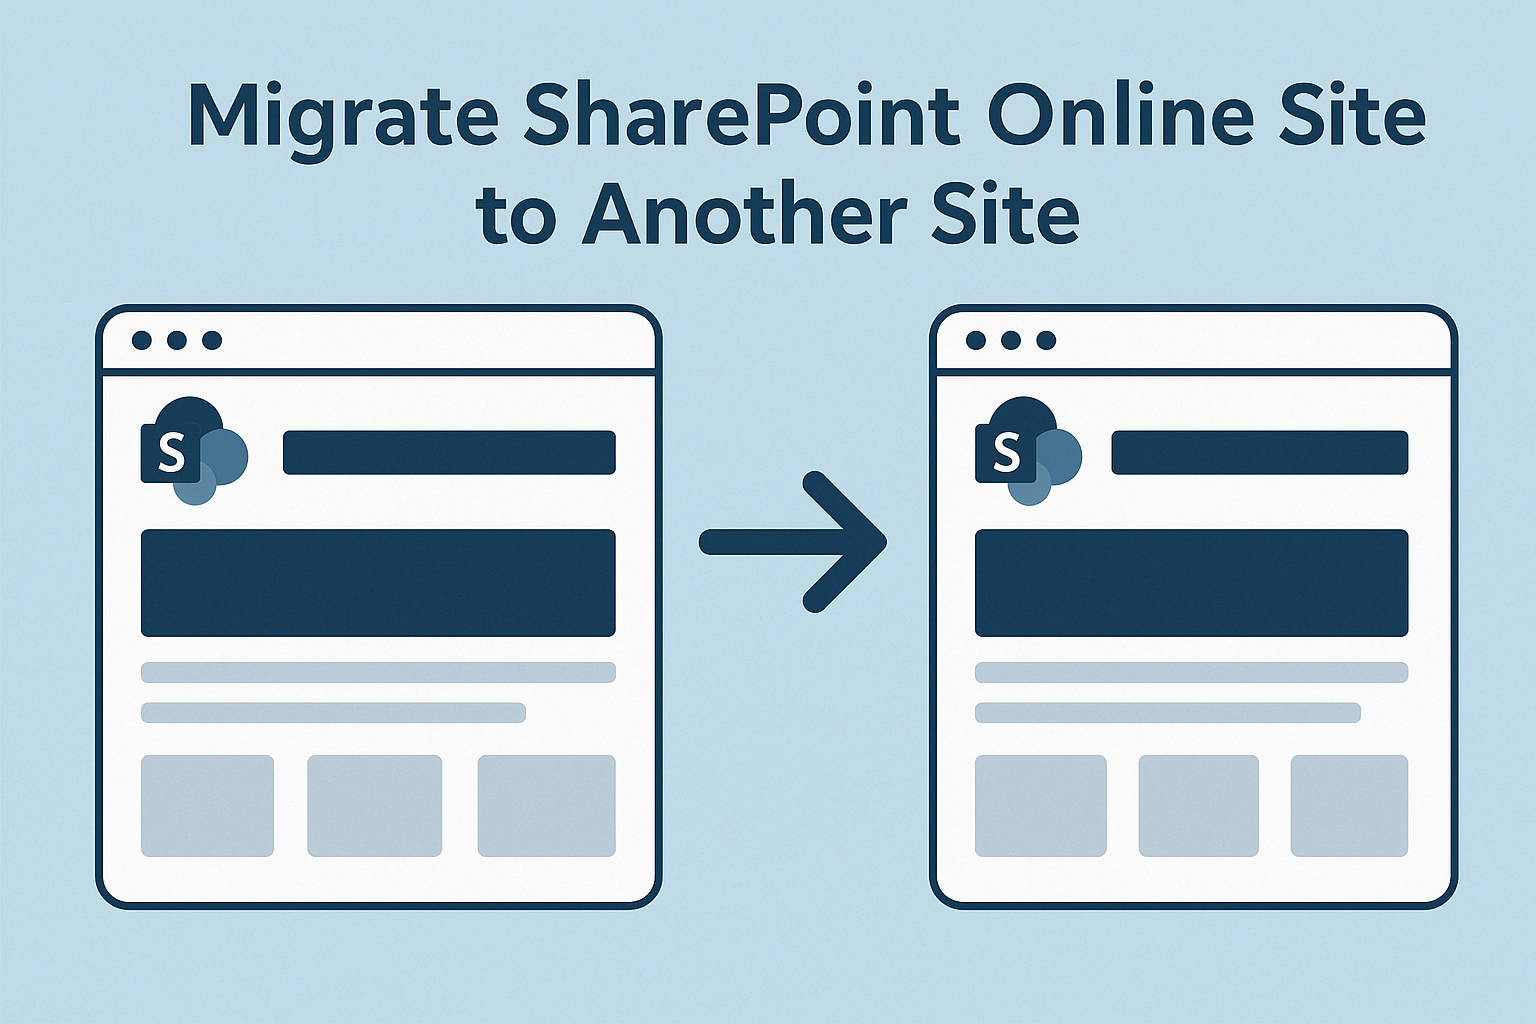
Migrating sites between SharePoint sites is a complex and time-consuming task. If you are wondering about this, this guide is specially for you. Here we will walk you through how to migrate SharePoint Online site to another site simultaneously, and hassle-free. So, what are you waiting for? Let’s have an insight into the step-by-step process of transition.
Also read: Create a Calendar in SharePoint Online
Why Move SharePoint Site to Another Site?
Before moving to the process of migration, first, we will understand the benefits behind this transition:
- Migrating data from one site to another serves as a backup or archive folder.
- Managing large data in two different sites can be more effective, and makes searching for desired content or files easier.
- Companies undergoing mergers, acquisitions, or internal reorganization need to move content to align with new business units.
- Helps avoid site size limitations and improves indexing/search speed.
- In scenarios like divestitures or cloud-to-cloud transitions, entire SharePoint sites must be moved from one tenant to another.
After learning these benefits of this migration. Next, we will learn the solutions to migrate sites between SharePoint Online.
Read also: Import Excel to SharePoint List
How to Migrate SharePoint Online Site to Another Site?
Migrating data to another SharePoint site can become complicated and time-consuming if you aren’t aware of the appropriate tools and knowledge of transition process. So, it is necessary to go through these manual and automated solutions, then move to the migration procedure. Let’s dive in!
Method 1. Download and Upload Content
- Go to the source site’s document library.
- Select all files > click Download (creates a ZIP file).
- Go to the destination site’s document library.
- Upload the ZIP file > extract contents.
Method 2. Use “Copy to” or “Move to” in Document Libraries
- Open the library > select documents or folders.
- Click Move to or Copy to.
- Browse to the target site and library.
Method 3. Cutting-edge Automated Solution
There is no direct method to move data between SharePoint sites. Even Microsoft’s native tool SPMT does not support online migration. Now, the question is how to proceed with this migration. So, the answer is quite simple: you have to opt for an automated solution like SysTools SharePoint Migrator.
This solution comes with various exceptional features like date filter, delta migration, re-run migration, category-based filter, and much more. It offers a self-explanatory interface, which makes it easy to use for any skill level.
After purchasing its full version, follow the steps below to move SharePoint sites in one go:
- Step 1. Run this migration tool.
- Step 2. Select Microsoft 365 as a source & target location.
- Step 3. Apply a date filter if needed to migrate specific data.
- Step 4. Provide Admin credentials for both source & target tenant.
- Step 5. Map source users, and hit the Start Migration button.
That’s all! Now, wait till the migration ends. The transition time depends on your data volume. When completed with a successful migration, go to the destination folder, and check your data is migrated properly or not.
Method 4. Sync with OneDrive & Reupload
- Sync the source document library with OneDrive for Business.
- Drag and drop the synced folder into the synced folder of the destination library.
- Let OneDrive sync changes to SharePoint.
Read also: Set Retention Policy in SharePoint Online
Method 5. Save List as a Template with Content
- Go to List Settings > Save list as template (check “Include content”).
- Download the .stp file.
- Go to the destination site > List templates > Upload the .stp > Create list from template.
Method 6. Manually Rebuild Site Components
- Recreate pages, web parts, lists, and libraries in the new site.
- Copy-paste content or re-upload documents.
- Manually configure permissions, views, workflows, etc.
Method 7. Use PowerShell for Selective Migration
- PnP PowerShell
- SharePoint Online Management Shell
# Connect to the source site
Connect-PnPOnline -Url https://source.sharepoint.com/sites/oldsite -Interactive
# Export list or library
Get-PnPListItem -List “Documents” | Export-Csv -Path Documents.csv
# Connect to the destination site
Connect-PnPOnline -Url https://target.sharepoint.com/sites/newsite -Interactive
# Import list items (needs custom scripting)
Additional resource: Archive SharePoint Site
Bring it All Together
Now it’s time to take a quick recap of this discussion. First, in this informative journey, we explored some common benefits of migrating a SharePoint Online site to another site. Afterwards, we covered several solutions to move SharePoint data between sites simultaneously.
I know that most of them are manual and indirect solutions. Still, they are free, so if you are handling minimal data, then you can give them a chance. However, if you find some limitations during the migration, with manual solutions. Then look no further, just opt for the above-mentioned automated solution (Method 3).
That specified automated solution will make this transition a breeze!