We do everything to bring comfort to our home. But the changing weather constantly affects the environment of your home. Many homeowners highly depend on artificial heating or cooling units to regulate these changes. But in that process,people frequently overlook the structural vulnerabilities right above them that are responsible for significant heat loss. Selecting premium roof insulation in Melbourne is a brilliant strategy to optimise an upscale residence, offering profound structural upgrades that go far beyond basic temperature control.
Here, you will understand the complete process of installation to upgrade your home.
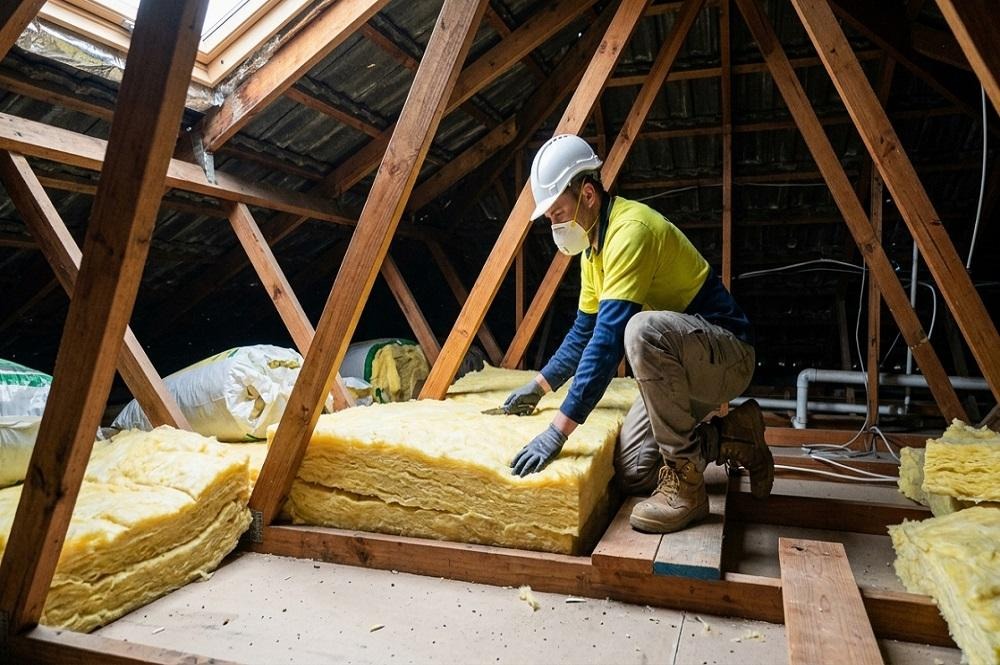
- Preparing the Safety Tools and Required Equipment
Be ready with all the equipment that you will require during the installation process. Before you take out the ladder from the store room, wear the safety mask. Do not begin the process without wearing your standard safety gloves. It is better to wear long-sleeved clothing to protect yourself from dust allergies.
- Choosing the Right Insulating Material
Insulating materials are created differently. You need something that can handle Melbourne’s changing weather conditions. Experts suggest material that has an R value between 4.0 and 5.0. R value shows how accurately a material can resist heat flow.
- Cleaning Up the Roof Space
Now it is time to put your head into the manhole. Be sure to bring a bright flashlight with you. Your roof space will probably be dusty and may even have some old rubble from the original builders. Clear the place to have a clean workplace. Take a look around to check for electrical wires. If you notice them and it feels riskier, then prefer to call experts to get the job done.
- Laying Down the First Pieces
Once everything is safe and clean, start bringing your packaged insulation up into the roof. Start at the furthest corner of the roof and work your way back to the exit so you do not accidentally trap yourself in a corner. Open a pack and let the batts puff up to their full size.
- Fitting the Batts Snugly
Grab your first batt of insulation material and carefully push it between the wooden timber joists. It should be flat against the wood on both sides. Don’t press the insulation material down flat or squash it in any way. Pressing it flat will actually prevent it from working at all. It needs the spaces between the trapped air particles in order to work. If the batt is too wide, you can trim it down with your utility knife.
Working Around the Downlights
Safety is the main consideration when you’re dealing with your ceiling insulation in Melbourne. When it comes to fire risks, you can’t just throw your batts straight over your lights.You’ll need to make sure there’s a gap between every single light fitting. The general rule of thumb is to leave about 50 to 100 millimetres of clear space.
- Checking Your Handy Work
When you are about to finish your installation process, take your time to observe the parts you have installed. Do not forget the small gaps through which the heat can escape and destroy your hard work. This step will help you finish the process with almost zero error.
Conclusion
Learning how to properly install roof insulation in Melbourne is definitely doable if you just take your time and plan everything out properly. It is definitely a hot and dusty job, but trust me when I say that it will be worth it for your wallet and your comfort. When the next winter comes around, and you don’t have to turn on your heater as often, you will be thanking yourself for taking the time to do this. Just remember to make sure you get the right R-value and make sure those lights have room to breathe.