If you’ve ever noticed strange odors, poor fireplace performance, or heard a chimney sweep suggest a liner replacement, you’re probably wondering just how much time this will take. Installing a chimney liner might sound complicated, but with the right team and prep, it’s often a smooth, one-day job.
Let’s walk through the entire process — what to expect, how long it takes, and why it matters. Whether you’re a new homeowner or just tackling some overdue chimney maintenance, this guide will break it down simply. By the end, you’ll be confident about what goes into installing a Chimney Liner in Bel Air.
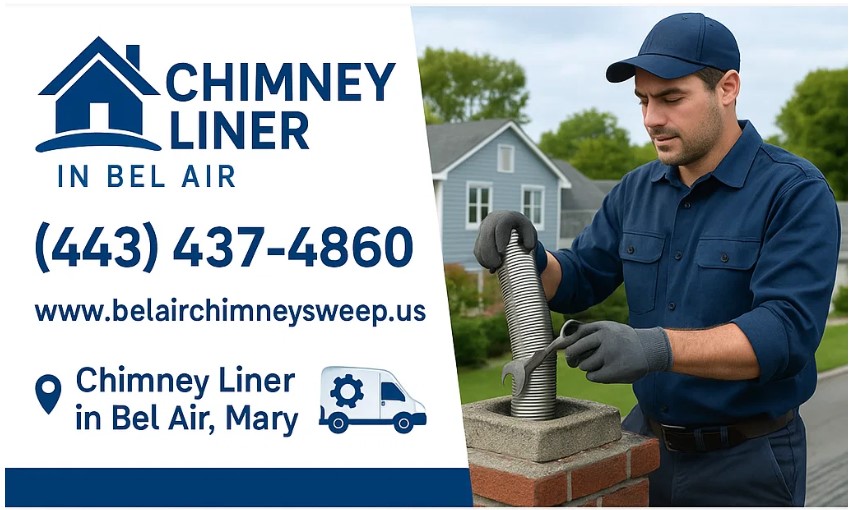
Why Would You Need a Chimney Liner in the First Place?
A chimney liner acts like a protective sleeve inside your chimney flue. Think of it like a durable, fire-resistant tunnel that safely carries smoke and gases out of your home. But why install or replace one?
Here are a few key reasons:
- Cracked or damaged existing liner
- Upgrading to a new heating system or wood stove
- Meeting fire safety codes in older homes
- Preventing carbon monoxide leaks
- Improving energy efficiency
And yes — it’s not just about function. Chimney liners also help cut long-term costs by reducing future repairs and improving appliance performance.
How Long Does It Usually Take to Install a Chimney Liner?
This is the golden question — and the answer depends on a few things. On average, most chimney liner installations in Bel Air take between 4 to 8 hours.
Here’s a general breakdown:
| Project Complexity | Estimated Time |
| Standard stainless steel liner install | 4–6 hours |
| Masonry flue with prep work needed | 6–8 hours |
| Clay tile liner removal + new liner | 1–2 days |
| Multi-story chimneys or special cases | Up to 3 days |
A simple liner replacement (like stainless steel) in a standard single-flue chimney is often done the same day. But if there’s tile removal, structural repairs, or if the chimney is extra tall or narrow, it can take longer.
What Are the Steps Involved in Installing a Chimney Liner?
Here’s where we take the mystery out of it. Whether DIY or professionally done, most chimney liner installations follow these general steps:
1. Initial Inspection
A certified chimney sweep will inspect your current flue with a camera or flashlight to check for damage, size, and obstructions.
2. Cleaning the Chimney
Creosote, soot, or debris buildup must be cleaned out before any work begins. A clean chimney ensures a smooth, safe install.
3. Measuring & Preparing the Liner
The installer measures the height and diameter of your flue. Then, a stainless steel or aluminum liner is cut and prepped. If insulation is required (common in cold climates like Bel Air), it’s wrapped and secured.
4. Removing Old Liner or Tiles (if needed)
If there are old clay tiles or a damaged liner, they may need to be broken and removed using tile breakers. This step takes time and care.
5. Installing the New Liner
The liner is lowered from the top of the chimney using ropes or pulley systems. Once positioned, it’s connected to your appliance (fireplace, stove, etc.) at the base.
6. Securing and Sealing
The top plate and rain cap are added to prevent rain and debris from entering. Chimney crown work may also be done if needed.
7. Final Safety Check
A final camera inspection ensures everything’s sealed tight and safe to use.
What Affects the Time and Cost of the Job?
Good question! Here are some quick factors that affect both timeline and budget:
✓ Chimney height & condition: A 2-story home is faster than a 3- or 4-story structure. Cracked flue tiles or shifting bricks can add time.
✓ Liner material: Stainless steel is common, affordable, and relatively easy to install. Cast-in-place or clay liners are more complex.
✓ Type of appliance: Connecting to a wood stove may take longer than a standard fireplace.
✓ Local codes & inspections: Bel Air may require a post-installation inspection or permit depending on your property.
Key Features of a Good Chimney Liner:
- High heat resistance
- Corrosion protection
- Code-compliant materials (like UL-listed stainless steel)
- Compatible with your heating appliance
- Insulated for better energy efficiency
Is It Worth Hiring a Professional in Bel Air?
Absolutely — and here’s why.
Installing a chimney liner isn’t just about dropping in a metal tube. Done wrong, it can cause backdrafts, fire hazards, or poor appliance performance. Bel Air homeowners benefit from hiring certified chimney technicians who understand local codes, weather conditions, and building styles.
“When it comes to your chimney, shortcuts are costly. A safe home starts with a proper liner.”
— Certified Chimney Professional, MD State Guild
Hiring a pro also helps with warranty protection, insurance compliance, and future resale value.
What’s the Bottom Line on Safety and Cost?
Here’s where it really matters: A chimney liner is an essential safety feature that protects your home from fire, carbon monoxide, and structural damage. It might feel like a big upfront project, but it pays off.
Costs in Bel Air typically range from $1,500 to $3,500, depending on the complexity. But here’s the good news — most homeowners only do this once every 15–20 years.
And it’s not just about money — it’s about peace of mind.
Final Thoughts: Should You Schedule Your Chimney Liner Soon?
If your chimney is older, hasn’t been inspected in a while, or you’ve switched heating appliances, don’t wait too long. The installation itself is fairly quick — usually within a day — but the benefits last for decades.
Whether it’s your cozy winter fireplace or a hard-working wood stove, a properly installed Chimney Liner in Bel Air is your home’s silent protector — working behind the scenes to keep your family safe, warm, and worry-free.