Collecting extra information at signup is only half of the job. The real value shows up later when users log in again and can actually see what they submitted. This is where many WooCommerce stores feel slightly unfinished. A customer fills in custom fields during registration, then visits the My Account page, and nothing is there. It feels disconnected and, honestly, a bit sloppy.
This guide focuses on how to display saved registration data on the My Account page using Custom user registration fields for WooCommerce in a way that feels natural and expected. The idea is simple. If you ask users for information during user registration for WooCommerce, then that information should live somewhere visible and useful after signup.
Why Showing Custom Fields on My Account Page Matters
When users open their My Account page, they expect to see more than just orders and addresses. They expect their profile. That includes business details, preferences, IDs, licenses, or anything else you collected earlier.
If those fields disappear after signup, it creates doubt. Users wonder if their data was saved at all. Support tickets start coming in asking things like Did you receive my company name or why do I need to re enter this again.
Using Custom user registration fields for WooCommerce properly avoids all of that. It keeps data visible and reassures users that their information matters and is stored safely. It also saves time because users do not have to contact support or resubmit details.
How Custom Registration Fields Are Stored
Before displaying anything, it helps to understand where this data lives. When you add extra fields to the registration form using a plugin, those values are saved in the user meta. This is part of WordPress’s core behavior, and it is reliable.
Each field is tied to the user account. That means the information is available anywhere user data is accessible, including the My Account area. The plugin acts as the bridge between form input and display output.
This is important because it means you are not hacking templates or manually querying the database. The system already knows the data. You just need to tell WooCommerce where and how to show it.
Setting Up Custom Fields During Registration
The first step is making sure your custom fields are correctly added during signup. Inside the plugin settings, you define the fields you want to collect. This could be text fields, dropdowns, checkboxes, or file uploads, depending on your needs.
Each field has a label, a type, and a visibility rule. Pay attention to the option that controls where the field should appear. Some fields are meant only for admin use, while others are user facing.
If your goal is to show the field later on the My Account page, then it must be marked as user visible. This is a small setting, but it matters a lot later.
During user registration for WooCommerce, these fields appear naturally alongside the default fields. Nothing feels forced. Users fill them in and submit the form.
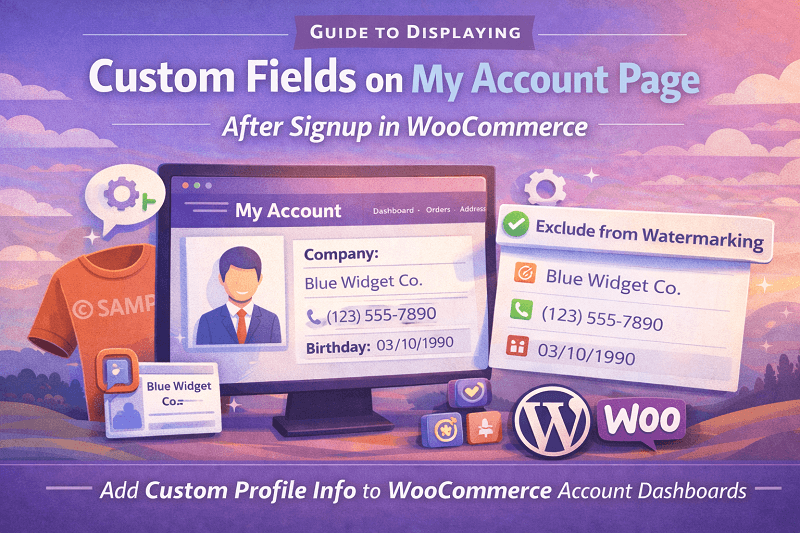
Displaying Fields on the My Account Page
Now comes the part most store owners struggle with. Displaying those saved values after login.
The plugin provides built in options to show custom fields on the My Account page. Once enabled, the plugin automatically hooks into the account area and outputs the data in a readable format.
Usually, this appears under account details or as a separate section, depending on configuration. The goal is clarity, not clutter. You want users to recognize the information they previously entered.
This is where Custom user registration fields for WooCommerce really earn their place. Without it, you would need to modify templates or write custom hooks. With it, the process stays inside the settings screens and checkboxes.
Choosing Which Fields to Show
Not every field should be visible to the user later. Some fields are internal. Others might be sensitive. The plugin lets you control this field by field.
For each custom field, you can choose whether it should appear on the My Account page. This allows you to show relevant details like company name or VAT number while hiding admin only notes.
This selective visibility keeps the account page clean. Users see what they need without being overwhelmed.
A small side note here. Less is more. Showing every single field can make the page feel heavy. Pick the ones that actually help the user confirm their profile information.
Editing and Updating Custom Fields
Another important aspect is whether users can edit these fields after signing up. Some stores want the data locked. Others want flexibility.
The plugin allows you to choose this behavior. Fields can be set as editable or read only. Editable fields appear with input boxes so users can update their details. Read only fields display values without edit options.
This is especially useful for fields like tax ID or business registration numbers that might change over time. Letting users update these themselves reduces admin workload.
From a user registration for WooCommerce perspective, this creates a complete lifecycle. Data is collected, stored, displayed, and optionally updated all in one flow.
Styling and Placement Considerations
The My Account page already contains several sections. Orders downloads, addresses account details. Adding custom fields should not break the layout.
Most plugins output fields using WooCommerce styles, so they blend in naturally. Still, it is worth checking on both desktop and mobile.
Long values should wrap properly. Labels should be clear. Avoid cryptic field names. What made sense to you during setup should also make sense to the user months later.
A practical tip is to log in as a test user and navigate the account page as if you were a customer. Small usability issues become obvious quickly when you see them firsthand.
Common Issues and How to Avoid Them
One common issue is fields not showing at all. This usually comes down to visibility settings. Double check that the field is marked to display on the My Account page and not restricted to admin view.
Another issue is empty values. This happens when users skip optional fields during signup. Decide whether that is acceptable. Sometimes, making a field required avoids confusion later.
Caching can also cause confusion. If you update settings and do not see changes immediately, try clearing the cache or using a private window.
These are small things, but they matter when polishing the experience around Custom user registration fields for WooCommerce.
Why This Improves the Overall Account Experience
Showing custom fields after signup closes the loop. Users see that the information they provided is not lost. It lives with their account.
This builds trust. It also sets expectations. If users know they can view and update their details later, they are more comfortable providing accurate information upfront.
From an admin perspective, it reduces repetitive tasks. Support requests drop. Data stays consistent. Everyone wins quietly.
In the broader picture of user registration for WooCommerce, this is what maturity looks like. Not just collecting data but managing it thoughtfully.
Final Thoughts
Displaying custom registration fields on the My Account page is not an extra feature. It is a natural extension of collecting those fields in the first place.
Using Custom user registration fields for WooCommerce allows you to do this without touching code or breaking themes. Everything stays manageable inside familiar settings screens.
Focus on clarity. Decide what information matters to the user. Make it visible. Allow edits where appropriate. Test the experience from a user’s point of view.
When done right, the My Account page becomes more than a dashboard. It becomes a profile space that feels complete and intentional.